More Drink Can Tinwork - Star-Shaped Box
By Mike on Saturday, October 22, 2016, 04:18 - Permalink
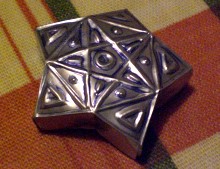 More tinwork fun with drink cans. This time for a star-shaped box with a convex profile - the design is still a bit half-baked, but I'm putting it up here in case anyone wants to experiment with it.
(Article updated October 2016 with video tutorial to make this item into a shabby-chic Christmas tree ornament)
This is my prototype, which turned out quite well - it's interesting how the geometry of the internal corners on the star shape make the points pull back, lending a convex profile to the lid.
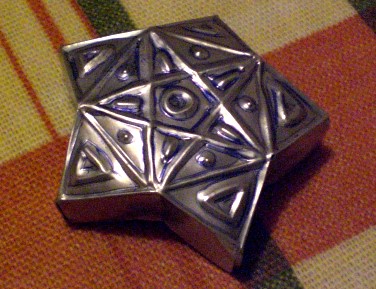
It's a bit more time consuming and complex to draw out and assemble than any of the previous designs, partly because of the folding during assembly and partly just because it has such a lot of corners. It's not impossible though - the thin aluminium is quite flexible and forgiving.
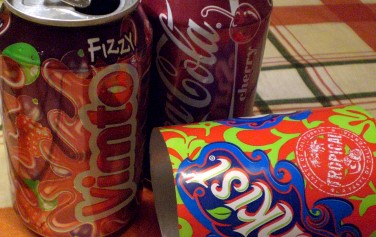 Up to now, I've been scrubbing off the paint from the metal before making the boxes, or at least constructing them so that it's hidden on the inside.
But some cans have designs that are quite attractive - so let's see if we can exploit it in the finished design.
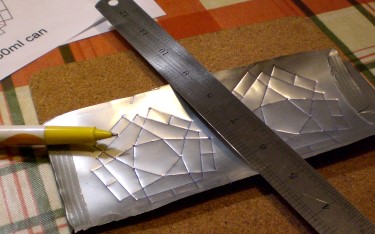 So I marked out the net of the box - same techniques as for the hexagonal one - hold the template over the sheet of metal and just press through the nodes, then take away the paper and join up the dots.
I used a 330ml can here and I managed to get both the base and lid onto the metal from a single can.
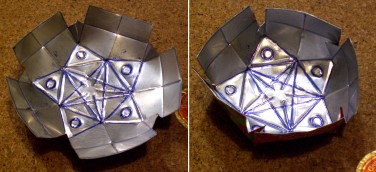 I kept the embossed design quite simple.
I used a 330ml can here and I managed to get both the base and lid onto the metal from a single can.
Folding it up was pretty much the same as for the simpler designs (here and here) - the sides have to be kept pretty much straight until (and so that) the edge tabs can be folded over, then they can be pushed inwards to form the internal corners of the star afterward.
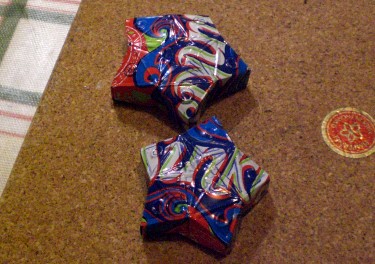 Here are the assembled boxes - the ink from the embossing/outlining process doesn't really suit the painted side of the metal, so I washed it off with soapy water.
The two halves of the box need a little tweaking and bending to adjust them to fit each other properly,
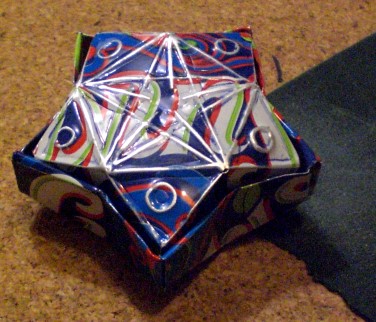 The painted design on the box obscured the embossing, so I rubbed the paint off the high spots with some abrasive paper - bringing out the embossed lines quite nicely.
So here's the finished box - I think a collection of these, made from different coloured cans, and strung on thin wire or gold thread, would not look out of place as Christmas tree ornaments - sure, it's fairly obvious that they're recycled, but that sort of thing seems to be quite fashionable at the moment.
Free Downloadable Templates
A downloadable template for the star boxes is available if you want to try this for yourself - I've created two PDF templates: this one has base and lid patterns to fit metal taken from a 330ml can - and this one is for use with a tall 440ml can. - they ideally need to be printed on A4 paper.
See here for more details on how to use these templates - because this one is a bit more complex, they're laid out in two colours - the red lines need embossing from the front face of the metal.
Here's a video detailing the techniques and methods. This video documents the construction of a square box, but the procedure is the same for other shapes.
Update (2014)
This topic continues to be very popular, both here on Atomic Shrimp and on YouTube - and I have received a lot of feedback and questions about it - here's a quick video answering some of the most common questions about Drink Can Tinwork:
Update (2016)
Here's a video tutorial for this specific pattern:
Note
Before, during or after the video(s) embedded in this page, the player may display advertisements or links to additional videos - these are not affiliated to Atomic Shrimp and the selection is something over which I have no control.
