LED Tealight Lanterns
By Mike on Sunday, February 12, 2012, 23:28 - Permalink
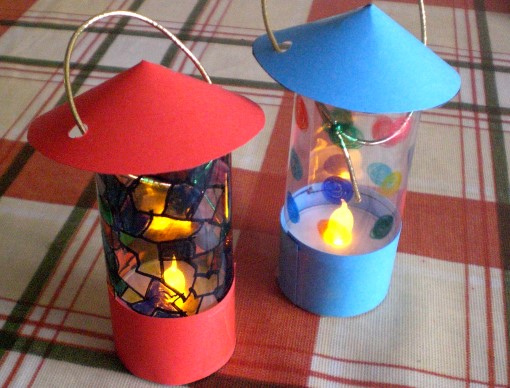
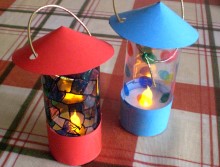 Here's how to make charming little hanging lanterns from LED tealights - this is a great fun craft - quick to make - and the end result is safe for kids of almost any age
Video Tutorial
Scroll down for step-by step pictorial instructions, or watch the video below...
Pictorial Instructions
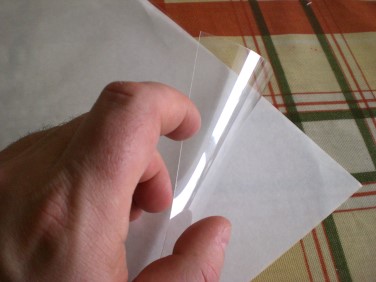 The 'glass' for the lanterns is made from overhead projector film - although any stiff clear plastic film will work.
Cut a rectangle of film 8cm wide and long enough to go all the way around your tealight (with a little spare - maybe half a centimetre) - so mine was 8 by 14 cm.
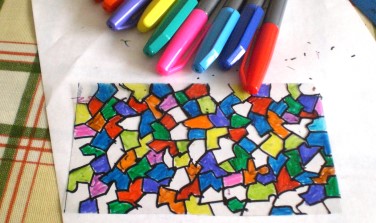 Using permanent, quick-drying markers, draw a coloured pattern on the film - I went for a sort of stained glass look.
(You might need to experiment or shop around a bit to find the sort of pens that will dry properly when used on plastic).
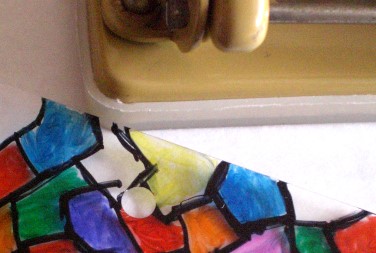 Punch a pair of holes in one of the long edges of the film - about one third of the way in from each end (so at about 5 cm along, and another at about 10cm along the long edge).
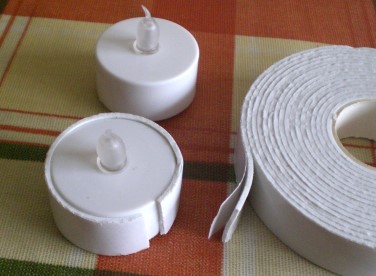 Stick a strip of double-sided foam adhesive tape around the edge of the LED tealight.
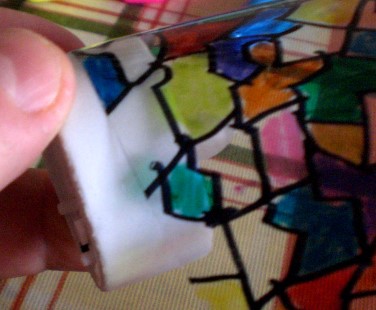 Peel the backing off the double sided tape and stick the coloured film around the candle.
Apply it coloured side in, so it won't ever smudge - and stick the film in place so as to only use half the width of the adhesive tape (leaving half sticky and exposed).
Also make sure you're sticking the opposite edge from the one where you punched holes.
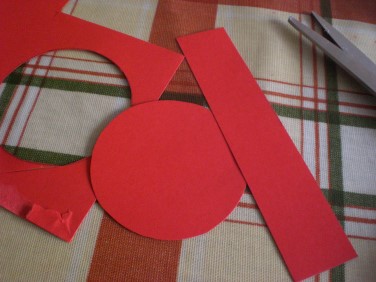 Cut some pieces of coloured paper or thin card;
A circle about 7cm in diameter - I just drew around the rim of a drinking glass
A strip about 3cm wide by 14cm long (adjust length to fit with a little overlap, if that's not big enough to go around your tealights).
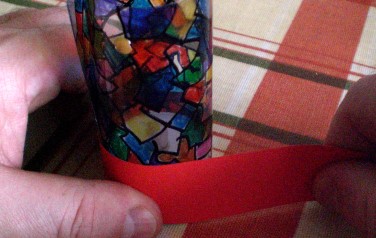 Stand the tealight flat on the work surface and apply the paper strip around the edge.
It should stick to the exposed half of the double-sided tape.
Stick down the overlapping end of the paper strip with a little clear tape.
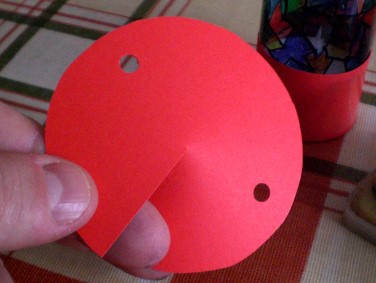 Cut a slit in the paper disc from the edge straight to the centre.
Punch a pair of holes - they're not exaclty opposite each other when the paper is flat because they need to be opposite after the disc has been made into a cone (see the next step and this will make sense).
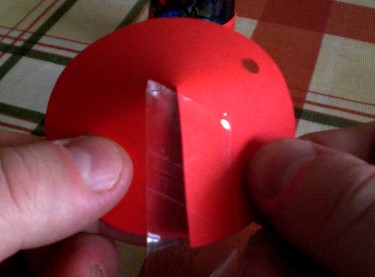 Overlap the edges of the cut in the paper disc to pull it into a shallow cone shape.
Secure this in place with a small piece of clear tape.
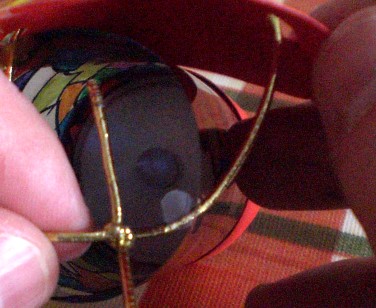 Cut a length of string or decorative cord about 15cm long - thread the ends down through the conical lid, then in through the two holes in the top edge of the coloured film.
Tie the ends together in a double knot.
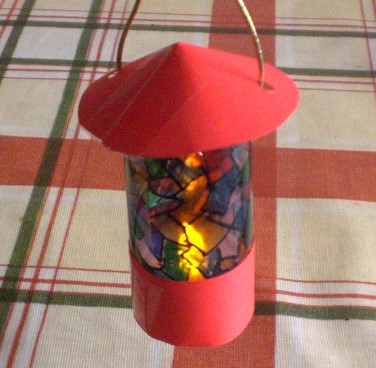 And the lantern is finished - switch on the tealight and enjoy!
Please don't try this with real, naked-flame candles.
Note
Before, during or after the video(s) embedded in this page, the player may display advertisements or links to additional videos - these are not affiliated to Atomic Shrimp and the selection is something over which I have no control.
