Plastic Moulding - Replacing A Broken Lid
By Mike on Wednesday, December 26, 2012, 21:11 - Permalink
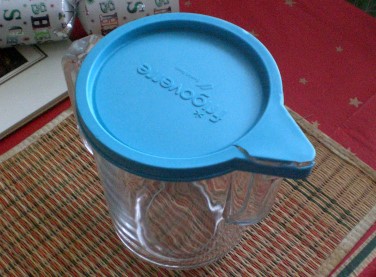
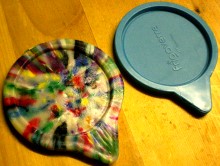 Alas! The plastic lid on one of my kitchen jugs broke.
This snap-on lid was one of the main reasons for buying it - as it makes the jug useful for storing leftover gravy or custard in the fridge.
So I set about making a replacement - out of my new favourite material - recycled HDPE.
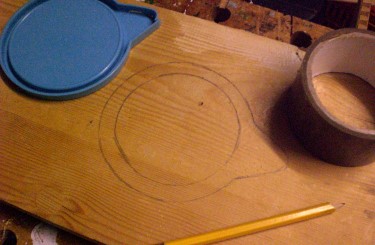 I needed to make a mould - so I drew around the lid onto a piece of spare softwood.
I also drew around a suitably-sized roll of tape to make a circular piece for the centre. It later turned out that this piece was too thick (it would have made the inner indentation protrude too far into the jug), so I cut it again, out of thinner fibreboard.
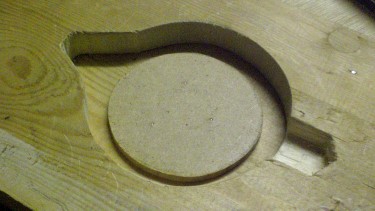 I cut out the shapes with an electric jig saw and assembled everything onto a base.
I chiselled out an indentation for the handle of the jug.
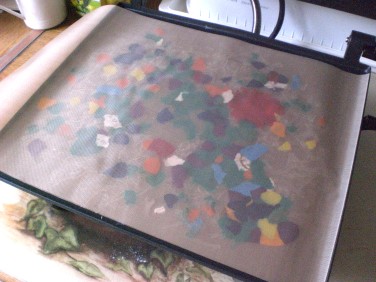 I melted the plastic on my sandwich toaster between two sheets of reusable nonstick baking liner, as detailed in other pages on this topic.
I pressed it thinner than usual, as I didn't want to make a lid that's too thick, and also, thicker material tends to suffer worse problems with shrinkage on cooling.
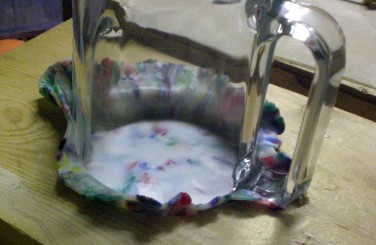 After heating the plastic circle until very soft and pliable, I peeled away the nonstick lining and draped the hot plastic over the top of the wooden mould.
Working quickly, I pressed the jug down on top of the plastic sheet, forcing it to the right shape. I used a screwdriver to gather up some of the worst of the puckering at the edges.
I kept the jug pressed down until I was sure the plastic had finished solidifying, then left it in place for an hour to cool.
I clamped a batten to my workbench, then used this as a thickness guide to cut all the way around the lid with a hacksaw.
The saw blade tended to wander a little, but fortunately, only in the direction of the waste material - so I was able to trim it back further with files afterwards.
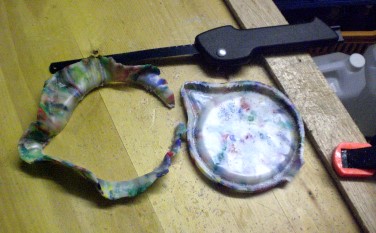 A little further filing, trimming and sanding, and the lid was finished.
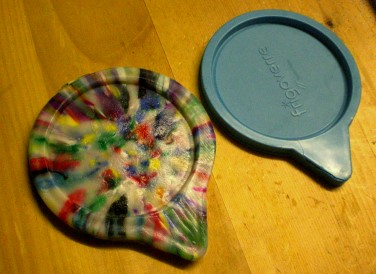 Here it is alongside the original.
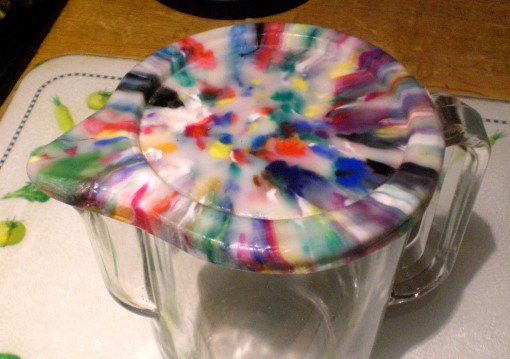
And the proof of the pudding - it fits with a satisfying snap onto the jug - it's probably not a completely air and water tight seal, as HDPE is more rigid than the original, which was a sort of hard synthetic rubber, but I'm really happy with this result.
Possibilities
This project was a success and it got me thinking - maybe I should make lids for other things that never even had lids to start with - for example, my pyrex jugs...
