Blue Panelled Door Book - TARDIS Style
By Mike on Thursday, February 20, 2014, 19:24 - Permalink
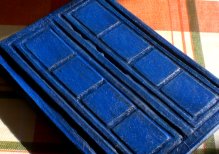 Spurred on by the success of my previous project to make a vintage-look notebook, I decided to try making a book with the appearance of a blue panelled door - TARDIS style.
Starting Point
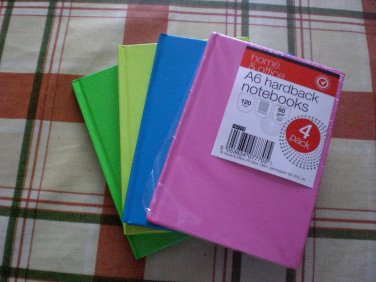 I began with one of a pack of cheap A6 ruled notebooks - these were four for a pound in my local pound shop - so I have three left for future projects.
I picked the blue one for this project - even though it will be completely covered, this seemed like a good idea - if the applied effects ever wear through anywhere, it won't look completely wrong.
The books have a plastic film coating on them, so I roughed this up with a bit of coarse sandpaper to allow glue to stick to it - most of the plastic film actually sloughed off when I did this, which wasn't what I expected, but was just ideal
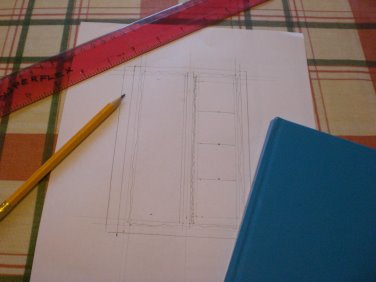 I drew around the book onto a piece of paper and planned out the panels and framing.
Although I used a ruler for straight lines, this was pretty much a freehand/guesswork exercise.
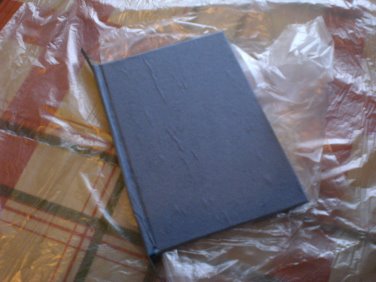 Even though I had roughed up the original hardback cover of the book, I decided to glue on a flat cover made of thin coloured paper (this is similar to sugar paper/construction paper, but about half the thickness).
I left this to dry while I cut out the card pieces for the relief detailing.
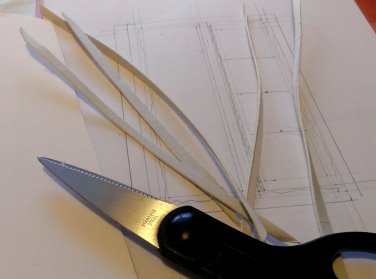 The card for the relief detailing was just a piece of dense, white-faced card that originally came from the packaging of a box of paints or something.
It's about 2mm thick and is made from multiple layers of paper pressed and glued together (this is important for one of the later steps).
I cut some long strips of card - these would form the outside framing. I also cut some smaller rectangles for the panels - the card was just thin enough to be able to cut with sharp kitchen shears, following straight pencil lines I had drawn on it.
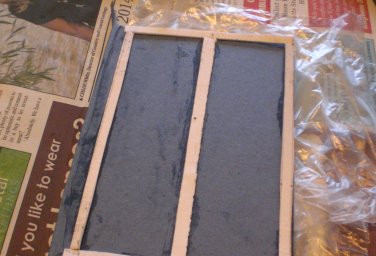 I glued the framing onto the cover.
It didn't want to stay stuck down, so I pressed it in place, added a sheet of polythene (PVA glue does not stick to plastic) and placed a heavy book on top to press it down flat while the glue set.
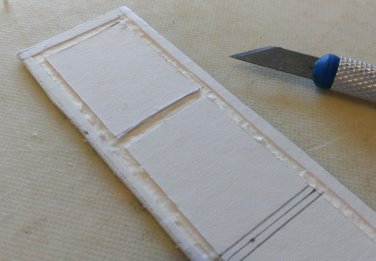 Meanwhile, I set to work on the panels.
Using a sharp scalpel, I scored lines into the card, then picked out the cut pieces down to about halfway through the thickness of the card.
This is where the multi-layered nature of the card really helped me - it was possible just to scrape away layers of the composite from the cut areas.
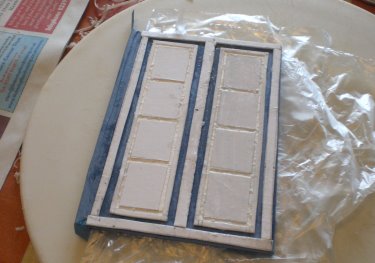 I stuck the panels in place and again, added a sheet of polythene and weighted it all down with a heavy book.
I left this for a couple of hours to set. PVA glue sets solid in a fairly short time - before it fully dries to a resilient plastic texture.
All of the above had to be repeated for the back cover of the book.
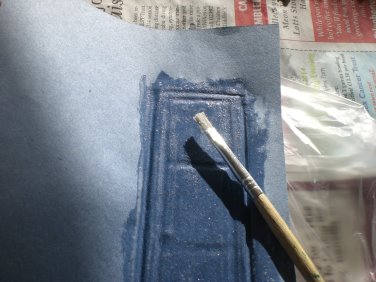 Once the panels had set in place I brushed them thinly with more PVA glue then covered them with another piece of thin blue sugar paper.
By thoroughly wetting this paper with glue, it becomes possible to push it down into the texture of the cutouts by dabbing it with a thick, short-bristled brush.
Two things are actually happening here one is that the paper is bending and pulling down into the shapes (which is why I only pressed down a little area at a time - to allow slack at the edges to pull in), but also, when wetted with the glue, the paper does actually soften and deform a little - so its also stretching down into the textured ridges.
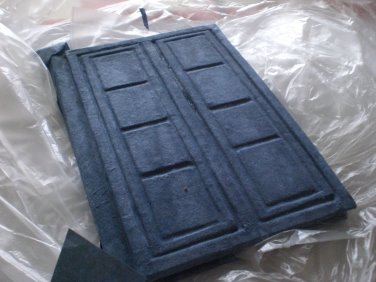 I kept on adding glue and dabbing and brushing until I was satisfied that the paper was tightly fitted to the contours of the underlying panelling.
This requires a blend of firmness and delicacy - too much brushing and the wetted paper just wears away exposing the underlayers - too little and the paper will just bridge the pattern and the effect will be flat and uninteresting (and prone to later damage).
I just folded the paper around the edges and glued it down inside the cover. At the spine, I trimmed it to a small overlap, which I later covered with another slim, neat strip of blue paper.
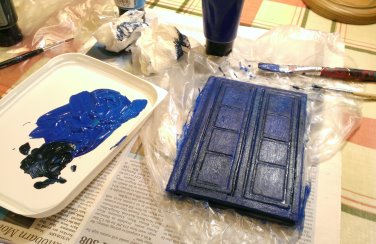 I added more coats of PVA glue to strengthen and toughen the paper, then left it to dry,
Once dried, I painted it using acrylic paints - blending the colours carefully for a grubby, darker effect in all the grooves, and a brighter, polished effect on the raised panels.
I left this to dry overnight, then applied another coat of PVA glue over the top - as a sort of protective varnish.
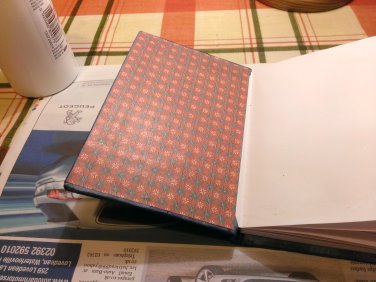 One last detail - I cut some nice patterned origami paper to size and glued it inside the covers as decorative endpapers - concealing all of the untidy folded edges of the cover.
I protected the pages from glue, using sandwich bags and closed the book, pressing it flat overnight.
The End Result
Really pleased with this - the PVA coating gives it a slightly glossy, almost leather-like texture and it looks like something that has been heavily embossed, rather than built up in layers. The book has turned out pretty close to exactly as I hoped and envisioned at the start.
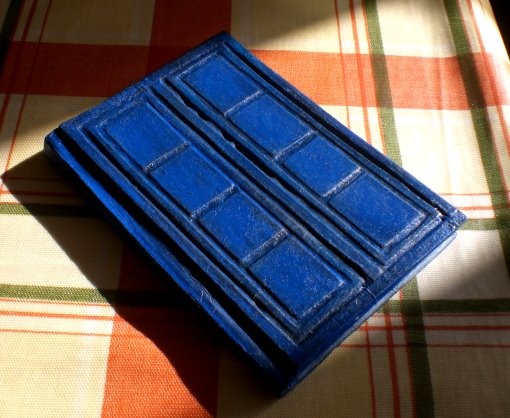
Doctor Whom?
A book something like this (although soft-backed and leather bound, perhaps) appeared in several episodes of Doctor Who, as the diary of River Song's diary.
Future Projects
This was quite an enjoyable little project, so I will be doing more like it in future - I have a few more books and plenty of other colours of paper, so maybe I'll do a version of some other notable book from the small or large screen, or something entirely of my own design.
