Bronze Effect Book
By Mike on Thursday, February 27, 2014, 20:45 - Permalink
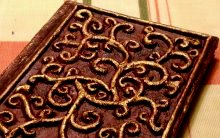 Another pocket notebook makeover - this time, I wanted to create the effect of a panel of cast, burnished bronze with an ornate organic design of vines and tendrils.
Starting Point
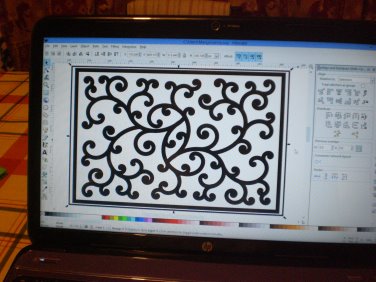 I started by creating a design using the free, open-source vector graphics program Inkscape.
The design is nothing more than the same spiral copied and pasted many times, rotated, flipped and scaled etc,
Once this was ready, I printed it out on a sheet of self-adhesive paper.
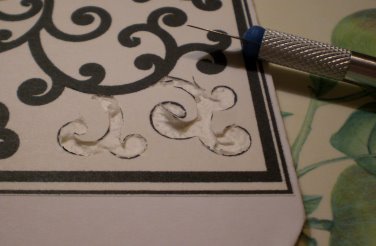 The original plan was not to make a cast bronze look - instead, I intended to intaglio carve the design for an embossed leather effect - so I stuck the design down to a sheet of thick board and began cutting around the outlines and peeling away the top layers.
It quickly became apparent that this wasn't going to work - cutting the curves accurately was very hard work and the board was just delaminating and peeling apart.
Time for another approach...
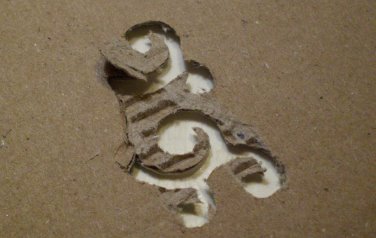 I tried the same thing with a thin piece of corrugated board - much easier to cut the curves, but still kept pulling apart - too intricate a design to be able to cut from these materials.
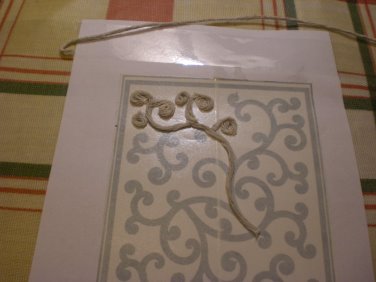 So I switched tactics completely - now aiming for a relief carved effect.
I made a bed of double-sided tape over the top of the design template, then used pieces of string to create the vines and tendrils.
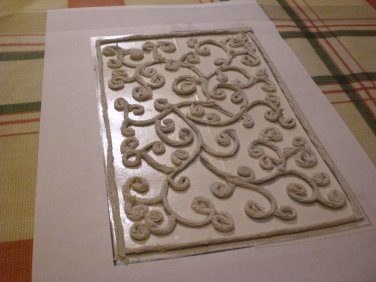 The string initially kept fraying and falling apart, so I brushed some with glue and let it dry, before completing the pattern
It was very fiddly work, but I eventually completed the design.
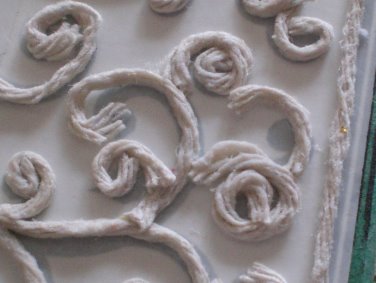 Although this seemed a promising approach, it was yet another failure - the string didn't quite want to stay stuck down.
It's possible that this might have worked if I had brushed both the string and design template with rubber solution glue, then left it to dry - this tends to stick and grab as soon as it makes contact.
Anyway, I didn't give up - I had one more trick up my sleeve...
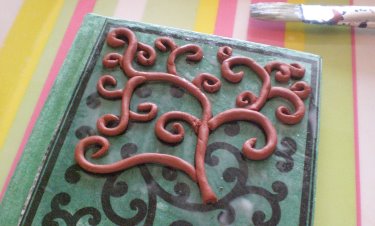 This time, I pasted the design template directly to the book and covered it with glue.
Then I built up the pattern using air-drying modelling clay.
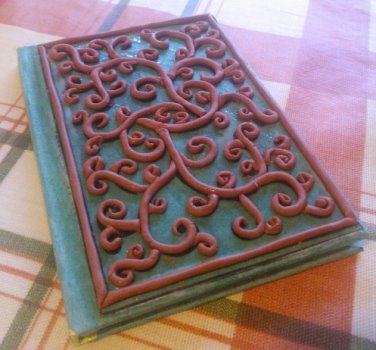 This was much easier to work with and to trim to size.
Once the design was complete, I left it to dry and harden - this took a couple of days.
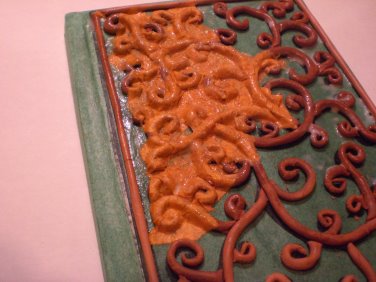 Once dried, I covered the clay with small pieces of paper thoroughly wetted with PVA glue, then dabbed it down into all of the little cracks and crevices.
This again, once complete, took a couple of days to dry completely (the cover was quite soaked with glue).
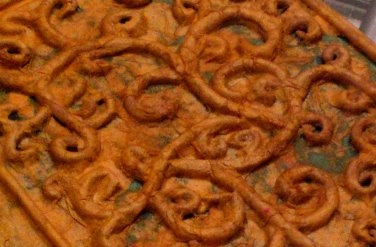 When this layer was dry, it looked very messy and unpromising, but the main objective had been achieved - the clay pieces were securely fixed down and their rounded shapes were blended into the flat surface of the book cover.
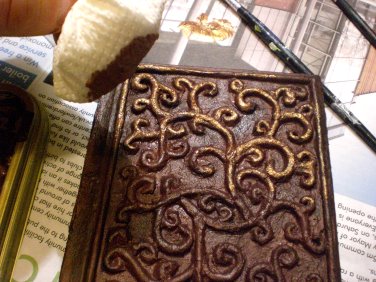 I mixed up some paint for the base coat - I wanted this to look like tarnished bronze - so I mixed red, green, a little metallic gold and yellow together to make a rich brown colour and I brushed this carefully on the decorated book - being careful to get the paint into all of the little tight corners.
Once this had dried, I brushed some gold paint onto a wad of absorbent paper and carefully dabbed it flat across the raised parts of the design - making it look like the raised parts have been burnished bright.
At this stage, it started to look really good:
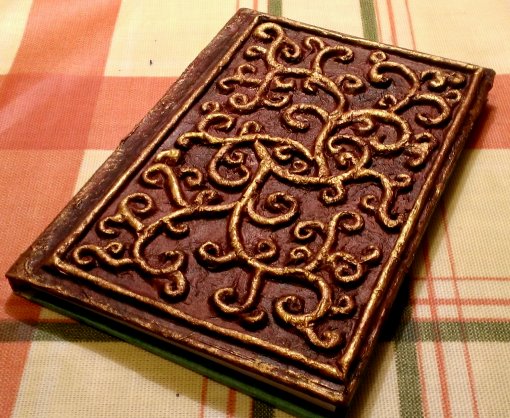
I left it to dry overnight, then brushed on a clear coat of PVA to protect and smooth the surface.
This dulled the gold paint on the raised parts, so when the glue had dried, I gave it another light coat of gold paint on the relief design.
Finally, I tidied up the inside of the covers by gluing in purple endpapers.
The Finished Book
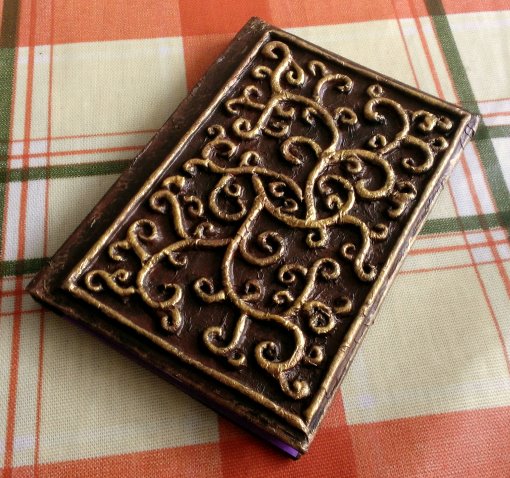
Bear in mind that this is an experiment - if I was taking this very seriously, I'd have used a more expensive book to start with. I'm reasonably happy with the appearance of this book - it's very different from the embossed leather effect that I originally conceived for this particular pattern, but I like this well enough.
On The Flipside
The front cover of this book was the main feature - and the work was too laborious and time-consuming to repeat in detail on the back.

So the back cover got a layer of construction paper, painted thickly in brown and stippled to create a semi-rough texture, then I sponged it over with a little gold paint to give it an antique effect - and sealed it all with a layer of PVA glue.
Next Time
If I made this again, I'd do a few things differently - probably the most significant thing would be to build over the clay shapes with tissue paper and glue - as it was quite hard to work the thin construction paper into all of the crevices neatly, even when it was soaked in glue.
Tissue paper would give a smoother looking end result (although I do actually like the rustic roughness that this one turned out to have).
