Pewter Casting With Cuttlebones
By Mike on Sunday, March 1, 2015, 12:50 - Permalink
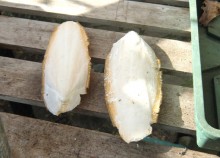 My daughter is working on an art project related to postal services and asked for my help with a bit of metal casting - this seemed like an ideal opportunity to do something I have heard of, but not yet tried - pewter casting into cuttlebone moulds.
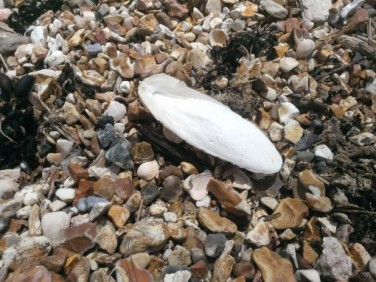 The cuttlebone I used for this project was collected from Lepe beach back in June 2014 - it's been sitting on the shelf in the greenhouse ever since - so it's nice and dry.
This is important, because we will later be pouring molten pewter on it - any any moisture would flash to steam and ruin the casting.
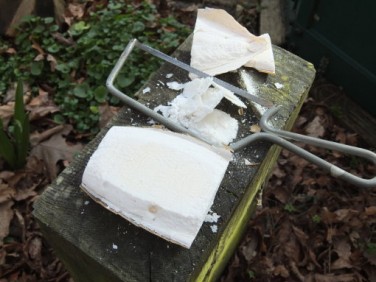 We trimmed the cuttlebone down to size using a junior hacksaw - it cuts very easily - the texture is like crisp meringue.
It's the soft side of the cuttlebone we'll be using (not the tough shell). This is easy to flatten either by just trimming with a blade, or alternatively, it can be rubbed flat using sandpaper or on a flat paving slab.
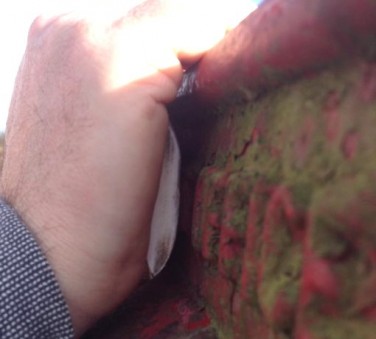 As this is for Steph's postal project, we decided to cast a metal plate with the word 'POST' on it - the postitive form for this was actually the raised lettering on a cast iron post box at the top of the road.
The cuttlebone is pressed very firmly against the lettering to take the impression.
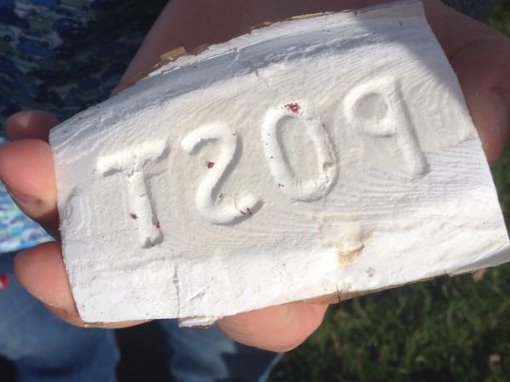 It did actually snap in half under the force - so in this picture, I'm holding the two halves together - we later stuck it together with hot melt glue on the back side - it only has to last long enough for one go at casting...
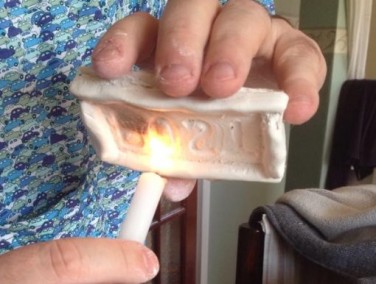 Back at home, we built up a dam of air-drying clay around the impressed lettering - normally, it would be best to wait for this to dry, but we decided to chance it.
To prevent the molten pewter burning into the cuttlebone, we covered it with a layer of soot from a candle.
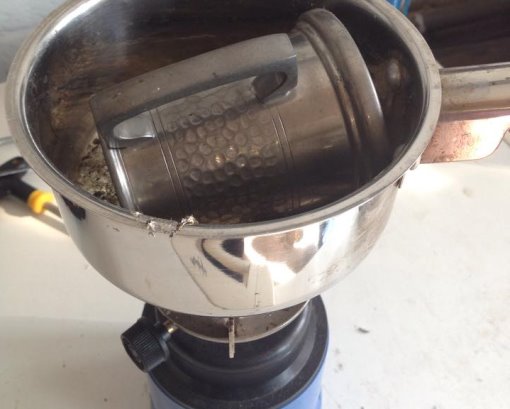 Next, it's time for casting! As in previous metal casting projects, my source metal is a cheap pewter tankard that I bought, dented and damaged from a charity shop.
Obviously I would never melt a valuable antique, but this is not one of those.
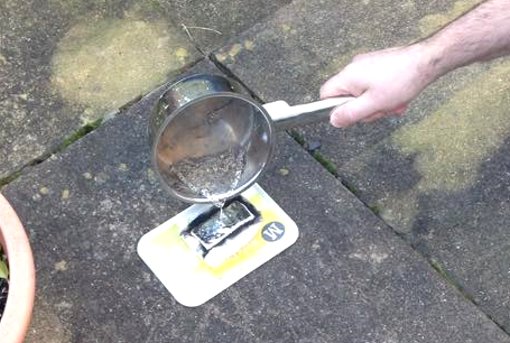 Once the metal was melted, I poured it carefully, at full arm's length, into the mould (which was propped up level on blobs of clay on a plastic lid.
I was expecting it to spit and sizzle a bit, but it was really very well-behaved this time.
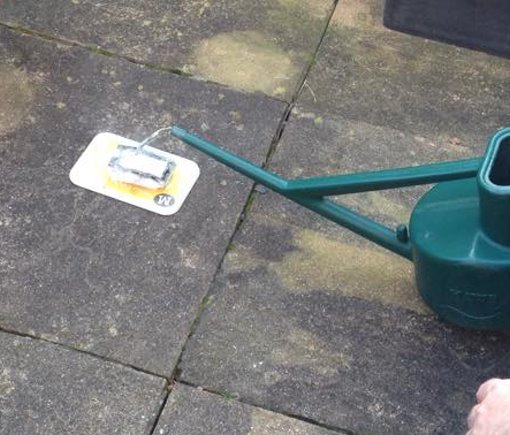 When the metal was fully set (but stiill not cold), I poured some cold water over it to make it possible to handle it.
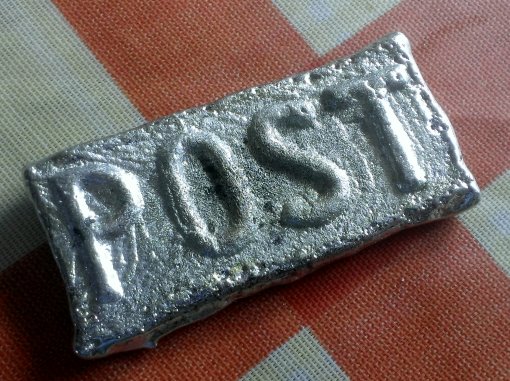
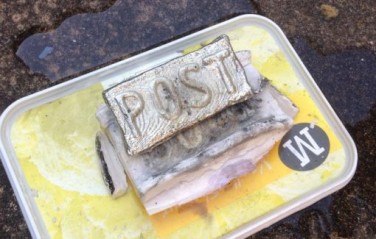 The result, turned out from the mould, was everything we could have hoped for - clear cast letters with no voids or flaws.
The texture of the cuttlebone is evident on the flat surface behind the letters - looking a little like wood grain, but this is not a problem.
So there it is - a little scrubbing under the hot tap to remove traces of mould matrix and soot, and the result is a nice metal copy of the lettering on the post box:
