Old Into New Times Two - Making Over An Old Workbench And Upcycling The Old Benchtops
By Mike on Monday, October 31, 2016, 22:30 - Permalink
The wooden tops of my trusty old folding workbench were starting to look really beaten and worn - time to make them over with some lovely new hardwood.
After I finished doing that, I also had a great idea for repurposing the old scarred and worn bench tops into something unique and new.
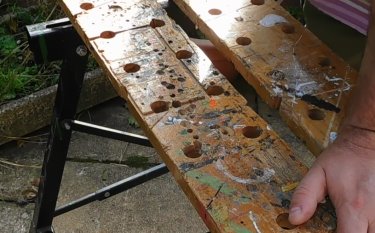
The old benchtops really were starting to look worse for wear - some parts were nearly more paint spills and holes than they were timber.
I zoomed off to the Southampton Wood Recycling Project and picked up a couple of lovely slabs of heavy hardwood - at next to no cost.
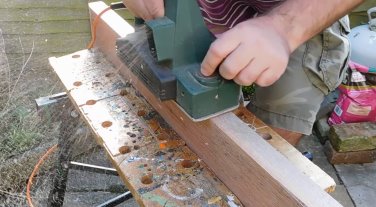
The wood just needed a little bit of cleaning up and smoothing - starting with the electric planer, the router to round over the outside edges and finally, a run over with the electric orbital sander to smooth everything off.
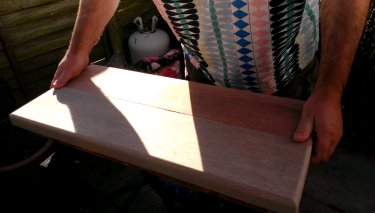
Once the shaping and smoothing was complete, I did a quick trial run of the fit on the workbench, on top of the old wooden jaws.
The new top was going to be a little wider and broader, as well as considerably thicker, heavier and more substantial than the old one.
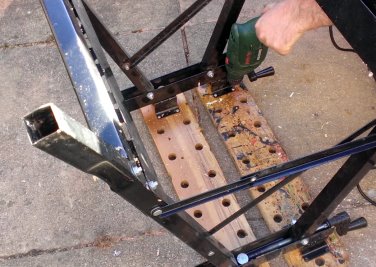
Removing the old wooden jaws was a breexe - just a few screws, then the metal frame just lifted off.
(You can see in this picture that I actually already reversed one of the jaws already to try to eke out a bit longer life for this hardy tool.

Reassembling with the new jaws was just as easy - the same process in reverse - placing the metal frame on top of the underside of the old jaws, then screwing it down
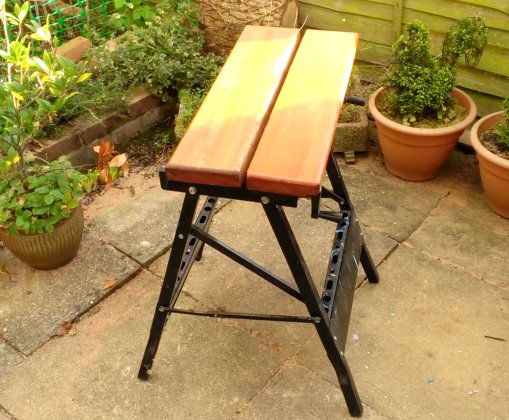
A quick lick of linseed oil to finish and protect the new timber, and it was done - a sturdy workbench that is better than it was when it was new.
I might drill some holes in it later for bench dogs, but I might not - I hardly use them after all.
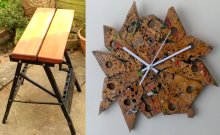
The End Result
Nice. A trusty old bit of kit given a new lease of life as a really solid and good-looking workbench.
I guess I'll probably make a sad little noise the first time I accidentally drill or cut into it, but that's just part of the story - read on...
Now, About Those Benchtops...
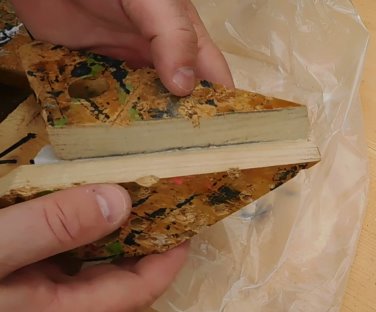
At the end of this, I was just a little reluctant and sentimental about throwing away the old wooden bench tops - they have so much story and character in them. So I set about a plan to make them into a memento worth keeping.
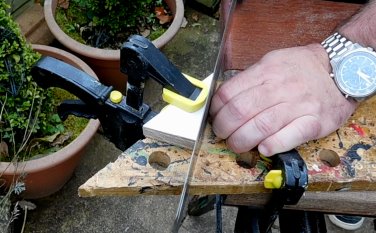
I cut a 30 degree wedge of scrap plywood and lined it up so that the central axis of the wedge intersected the centre of one of the dog holes - then clamped it down.
I used the straight sides of the wedge as a cutting guide, sawing a straight and perpendcular cut through the wood.
I repeated this 11 times until I had twelve sort-of-similar pieces.
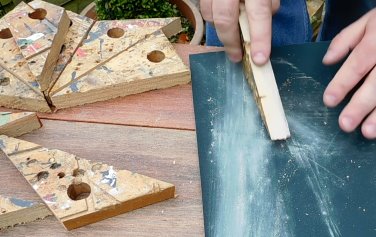
A quick rub on a sheet of medium grit abrasive was all they needed to flatten the edges ready for fixing together.
Gluing pieces of wood edge to edge isn't always easy - but it can be made easier by taping the back of the two pieces together whilst holding them flush as they will finally be joined.
Then the two pieces can be opened apart like a book, glue spread into the gap, then closed back up and secured around with more tape.
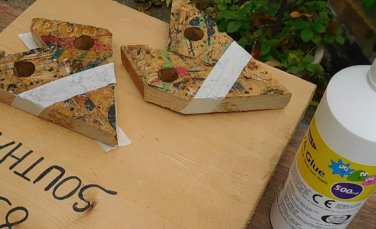
I left the glue overnight to fully dry and set. I then glued the pairs of pieces together into one large more-or-less circular piece.
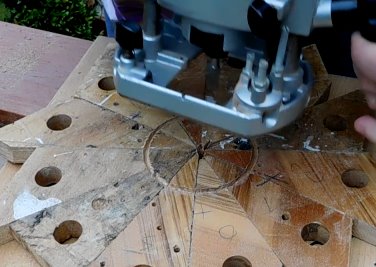
I used a large holesaw to mark out a shallw circular cut surrounding the centre - then cut a recess inside this boundary using my router.
I could have just marked the circle with a pencil, but cutting a shallow slot like this makes it somehow easier to work freehand with the router - there is additional resistance to cutting once it crosses the line, and this can be felt, and makes it easy to back off and cut in a different direction.
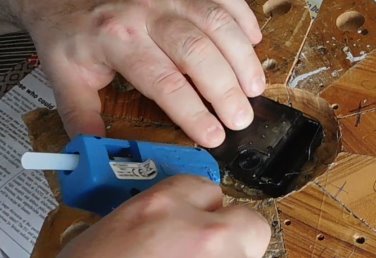
A quartz clock mechanism fitted neatly inside the recess.
I fixed this into place by blobbing a large amount of hot melt glue alongside it on each edge.
(I could have affixed it with glue pads in between the mechanism and the wood, but this would have pulled the spindle back inside the clock face - and clearance was at an absolute premium here.
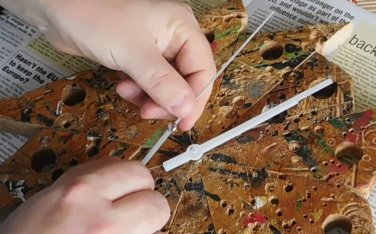
All that was left to do then was to fit the hands - they just push onto the spindle, but they do need a little bit of adjustment in the form of bending and tweaking so that they don't collide with each other - it's a good idea to wind the clock forward through a full 12 hour cycle to ensure that the hands clear each other, and the clock face, in all positions.
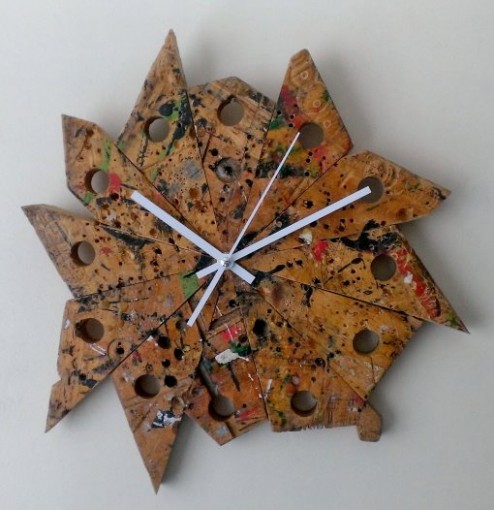
The End Result
I'm rather happy with this - it's not exactly pretty, but it has bags of charm - and every little hole, gouge, paint blob and clamp mark tells a story - some of them more obvious than others - for example, the green paint is from when I made the Snow Pea. The darker red paint is from when I made my Spin Art machine. The deep slots (near the middle of the 6 and 7 segments) are from when I tried hollowing out a book using my router (I don't think I wrote that one up, as it was a disaster!)
Video Stuff
If you'd like to see more about the process of both of these halves of the project, there's a video for each of them - below:
Note
Before, during or after the video(s) embedded in this page, the player may display advertisements or links to additional videos - these are not affiliated to Atomic Shrimp and the selection is something over which I have no control.
