Raspberry And Orange Meringue Pie
By Mike on Wednesday, October 13, 2010, 23:05 - Permalink
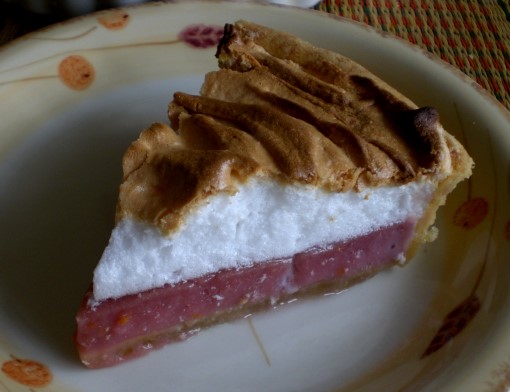
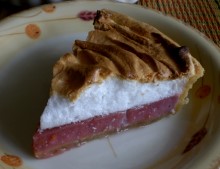 Here's a recipe for a dessert with a flavour and appearance designed to surprise. It's a variation on the popular classic Lemon Meringue Pie, but this one is flavoured with raspberries and orange instead.
The Recipe
Makes a pie that will divide into 8 portions (serving 4 people, if they come back for seconds)
For The Crust
- 175g Plain flour
- 100g Butter or vegetable baking fat
- 2 Tablespoons caster sugar
- Cold Water to mix
- Pinch of salt
- A little oil or butter to grease the dish
For The Filling
- 200g Fresh raspberries
- 1 Large orange
- 2 Egg yolks
- 2 Tablespoons cornflour (corn starch)
- Sugar to taste
- Cold water
For The Meringue Topping
- 2 Egg whites
- 50g Caster sugar
Method:
Prepare The Crust
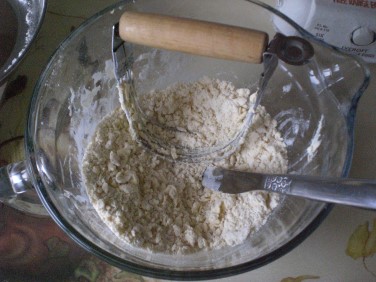 Put the flour and fat in a bowl, add the pinch of salt, then rub it together - either with your fingertips, or using a pastry blending tool like this one.
When the mixture resembles breadcrumbs, mix in the two tablespoons of sugar, then add cold water in small amounts, mixing with a table knife until it all comes together into a soft dough,
This should only require a few tablespoons of water at most.
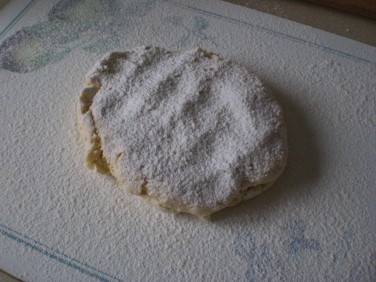 Bring the dough together into a ball using your hands, but don't knead it at all.
Place on a well floured board and roughly shape into a disc, then give it a generous dusting of flour on top.
Start to roll the dough out with a rolling pin, applying only a little pressure and changing direction frequently so as to maintain a fairly even thickness and a reasonably circular shape.
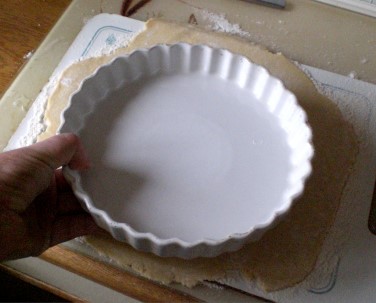 Lightly grease the inside of an 8 inch flan dish with vegetable oil or butter
Measure the dish against the rolled-out dough - there should be a margin of about an inch all the way around.
Carefully pick up the dough by flouring it again, then rolling it gently onto the rolling pin.
Don't try to pick it up by hand - your fingers will just go through).
If you mess this up, just form the dough back into a ball and roll out again.
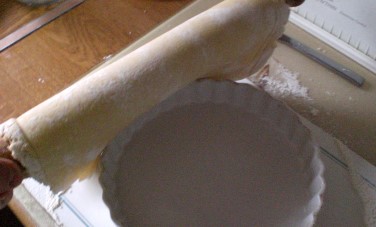 Carefully unroll the dough over the top of the dish. This requires a little bit of judgment to get it properly aligned.
when it's draped over the dish, it needs to be formed down into the bottom corner of the rim - do this by lifting it up at the edge and allowing it to droop or sag down into the base, without stretching.
It's very important not to just stretch or press the dough down into the shape of the dish, because if you do, two things may happen - firstly, it will probably just tear, but even if it doesn't, it may shrink back out of shape when it is baked.
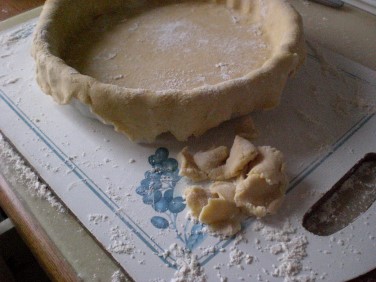 You could trim the dough up neatly at this point, but don't - instead, just fold it over and down the outside of the dish (just tear off any bits that are excessively long) - there are two reasons for this:
Firstly, it will keep the rim of the pie case in place while it bakes, preventing it from collapsing inwards.
Also, pie crusts tend to overcook or burn at the fringe - so we'll let that happen, but trim off the burnt bit at the end.
Save any trimmed scraps of raw dough you tear off here - they can be used to patch up any cracks that might appear during the first baking.
Prick over the base of the dough with a fork in a few places, then chill the lined dish in the fridge for at least half an hour - at the end of this time, preheat your oven to 160C.
Place the lined dish on a metal tray, to make it easier to handle, then put it in the oven to bake for ten minutes.
After this initial baking, the case should be pale creamy-yellow and dry to the touch.
It's still really delicate at this stage, so only handle the dish by the tray it's sitting on.
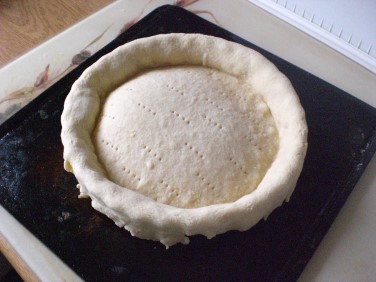 If the bottom of the pie case looks puffed up, as in this photo, just open up one of the pricked holes a little, using a toothpick - do this while it's still hot and it will flatten back down into place.
Set this aside in an airy place to cool before proceeding with the filling.
Prepare The Filling
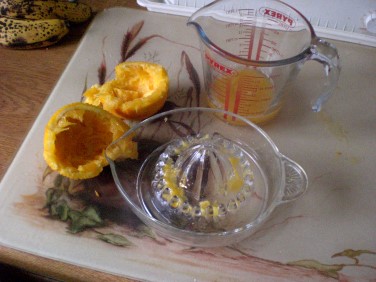 Scrape the zest (thin outer rind) from the orange, either using a citrus zester tool, or a fine grater. Save this and set it aside for the moment.
Squeeze the juice from the orange, into a measuring jug.
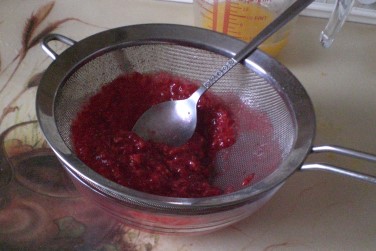 Mash the fresh raspberries in a jug or bowl, using a fork, then force them through a sieve to separate the woody seeds from the juice and pulp.
The raw raspberries take a bit of beating with the fork before they start to release their juice - this would be easier if we stewed them, but don't - because the filling will be cooked twice again after this step, and we don't want to lose the fresh raspberry aroma.
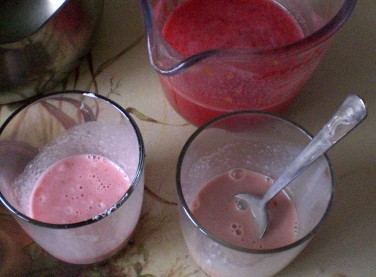 Add the raspberry juice to the orange and top up with cold water to 250ml.
Pour out a little of the juice into each of two glasses or cups - in one, blend in the cornflour - in the other, blend in the egg yolks - then mix these back into the main quantity of juice and pour it into a saucepan.
Finely chop the orange zest and add about a couple of teaspoons of this to the saucepan.
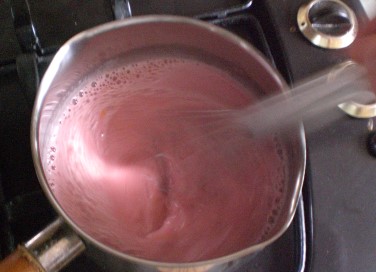 Heat the filling mixture gently, stirring or whisking constantly.
As it approaches boiling point, the misxture will darken slightly in colour and will abruptly thicken. Turn the heat right down when that happens, and keep whisking for another minute, then remove the pan from the heat.
Whisk sugar into the filling mixture to taste, but don't completely overwhelm the sharpness of the fruit.
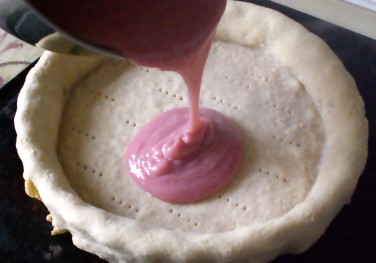 Allow the filling to cool a little for a few minutes, but only a few minutes. (Leave it too long and it will set in the pan).
Pour it into the pastry case and if necessary, give the dish a little jiggle to even it out (or use a spatula to spread it around).
Leave this to cool and set for at least half an hour.
Prepare The Meringue Topping
Preheat the oven to 160C.
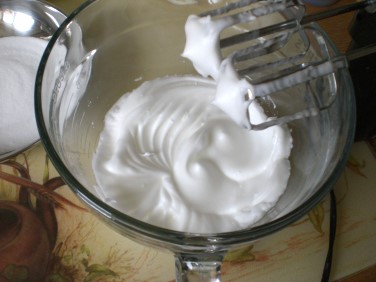 Put the egg whites in a large bowl and beat them, ideally with an electric whisk, until they are very stiff and foamy.
Add the caster sugar and whisk a little more to blend it in.
Some recipes tell you to gingerly fold the sugar into the egg whites for fear of deflating them.
This level of caution simply is not necessary - just whisk the sugar in briefly - it will be OK, trust me.
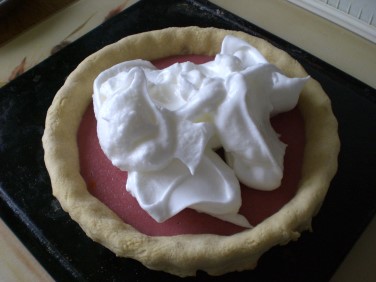 Make sure the pie filling is set - it should be softly jelly-like in consistency.
Spoon the meringue mix onto the filling and spread it evenly over the pie with a spoon or spatula.
Make sure the meringue topping is sealed down to the edge of the pastry all the way around, otherwise steam will emerge from the pie during baking and the meringue will wilt at that place.
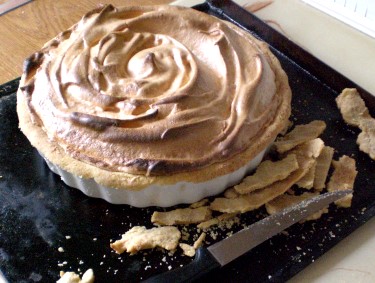 Bake the pie in the oven for half an hour, or until crisp and golden on the surface. You might want to check it halfway and turn it around if it looks like it's browning too unevenly.
When it's done, remove from the oven and allow to cool for half an hour.
Now, the ragged edges of the pastry case can be trimmed off neatly with a sharp knife.
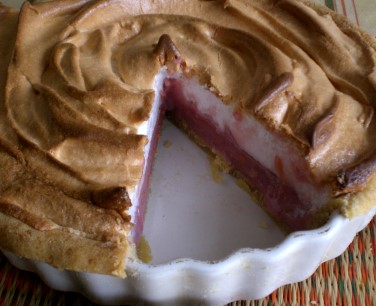 The pie may be served warm, about an hour after taking out of the oven, or may be chilled in the fridge and served cold, either the same day, or the next.
The meringue topping should be slightly crisp on the surface and soft, marshmallowy and sticky underneath.
The filling will be dark pink and smoothly creamy, yet slightly firm and jellied. The flavour is something a bit special...
Raspberry And Orange - As A Flavour
The idea of combining raspberries and oranges came from my son - it's not something I would probably have thought of trying for myself, but he had to choose three fruits for a fruit salad to make at school, and he picked raspberries, oranges and grapes.
The grapes were nice, but just a backdrop for the quite astonishing combination of flavours from the other two fruits. Orange and raspberry combine in a way that almost tastes like a completely brand new fruit - which turns out to be a genuine surprise to the palate.
Variations
Of course, the classic implementation of this dish uses a couple of lemons in the filling, but it can be made with almost any fruit.
I've made it in the past with sieved blackberry juice/pulp - that one caused a real stir with some guests, who on first seeing it, assumed it would be a lemon filling - jaws dropped all around the table when the first slice was cut, revealing a luscious deep purple fruity filling.
About The Pastry
The recipe for the pastry crust has a very high fat to flour ratio - this makes it a very 'short' pastry (coming out crumbly and crispy when baked), but it also makes the dough quite hard to handle. You can leave out 25g of the fat if you like.
