More Drink Can Tinwork - Hexagonal Snowflake Box
By Mike on Wednesday, November 10, 2010, 20:58 - Permalink
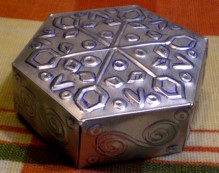 Taking the basic techniques I used to make my original Drink Can Tinwork box, we can get a bit more clever and make boxes of different shapes - here's how to make a hexagonal one.
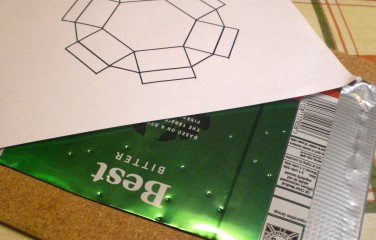 I cut open and flattened out an aluminium beer can and taped it down to a cork-backed mat. I decided to try making this box without removing the paint from the can. I think this will make it difficult, but let's see...
To make it easier to mark out the net of the box, I designed it on paper, then pressed through the paper at all the nodes/corners - creating clearly visible dimples at the key points in the design.
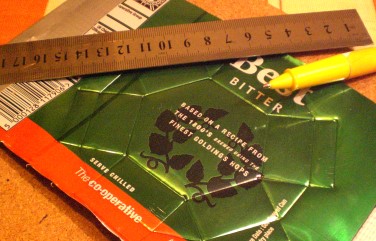 I joined up the dots with straight lines - this is actually a really quick way to mark out the box - this method would probably speed up the process of making even the ordinary square boxes.
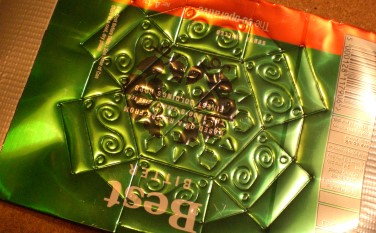 Embossing the pattern on the panels really was quite a lot harder with the paint still on the metal surface - even though this is a fairly plain colour, it was just a bit difficult to see where I was going.
I managed it in the end, though.
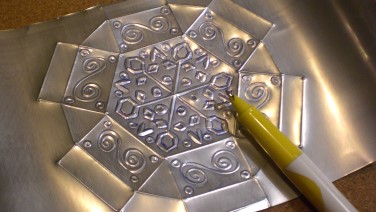 As usual, I embossed the pattern once from the painted side of the metal, then flipped it over impressed a line around the inner and outer edges of all the embossed shapes.
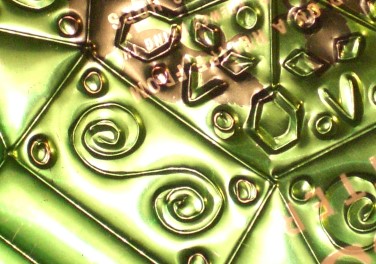 After outlining the shapes, I turned the metal over again and re-traced the originsl pattern.
It's surprising what a difference this makes to the relief of the final design.
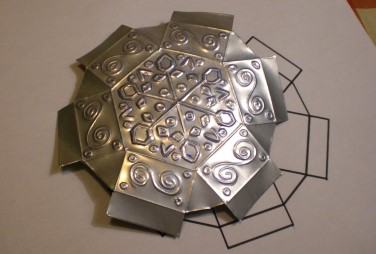 I cut off all the waste pieces.
This was a bit tricky, as it requires cutting internal corners in places - fine, sharp scissors are essential. I use a pair of first aid scissors intended for cutting bandages and adhesive plasters.
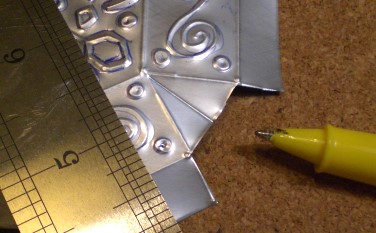 From the side of the metal with the raised embossing, I inscribed radial lines into each of the six corner pieces.
Inscribing them this way - from the front surface - ensures they will naturally fold inside the box.
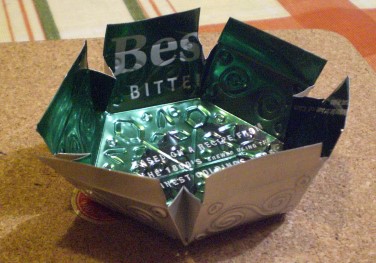 Then I started to fold it into shape - the corners push in as the sides fold into place - the corners can then be pinched together inside the box and bent flat against the side wall, then secured by folding the tab over them..
This is definitely a bit harder to make than the original square boxes - the folding is quite fiddly.
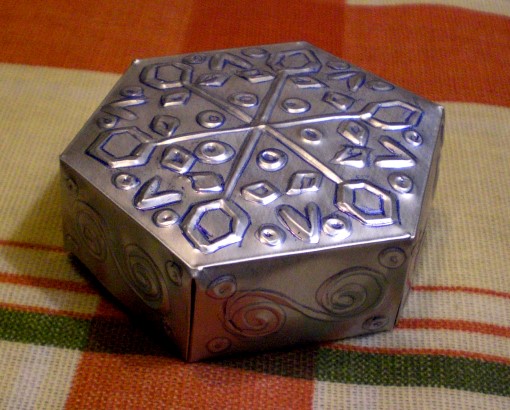
And that's it. Here's the finished box (It still needs cleaning up to remove the blue ink from the ballpoint pen, but if you use a black pen, the residual ink sometimes adds a sort of antique effect:
Here's a video detailing the techniques and methods. This video documents the construction of a square box, but the procedure is the same for other shapes. A downloadable template is available if you want to try this for yourself - read on for details.
Tinwork
Embossed tinwork is sometimes used to decorate rustic style photo or mirror frames, or just to make decorative items such as Christmas tree decorations.
The metal used is usually thicker (tinplate) and is normally worked with hammered tools - I wanted to try to get a similar effect, but with a bit less effort.
Free Downloadable Template
If you want to try this for yourself, I've created this PDF Template with patterns for both base and lid. When printed on A4 paper, the designs should be the right size to work with metal cut from a 440ml can or larger.
Note
Before, during or after the video(s) embedded in this page, the player may display advertisements or links to additional videos - these are not affiliated to Atomic Shrimp and the selection is something over which I have no control.
