Making A Koncovka (Slovak Wooden Flute)
By Mike on Saturday, May 28, 2016, 21:06 - Permalink

I fancy making a musical instrument. Trouble is, I'm no musician (well, I can play the harmonica and pan flute to a mediocre level).
So I was looking for something that requires a bit of intuition, rather than dexterity in the playing. The Koncovka seems to fit the bill exactly - read on to find out why...
The Koncovka (pronounced kont-sov-ka) is a bit of an unusual wind instrument. It resembles a simple recorder or penny whistle, except there are no finger holes at all - different notes are achieved by overblowing - that is, the note produced changes depending on the pressure of the airstream being blown.
That sounds ideal for me - I don't know that I'd ever have the patience and dexterity to master or even become moderately competent at the recorder, but the koncovka sounds like it's something that you almost play as an extension of your own body - I like the sound of this.
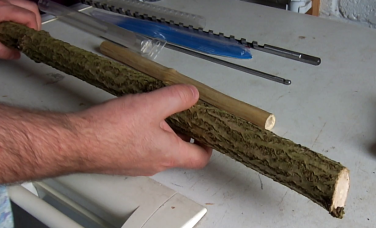
This instrument is traditionally made from a natural branch of Elder (Sambucus spp). Fortunately, Elder trees are abundant near me (I have already enjoyed their flowers in other articles).
So I cut a nice straight piece of Elder branch, about 30mm in diameter. I think I'm supposed to leave this to dry out for a couple of years, but that's too long a game for me, so I will be trying to work with green wood here...
Elder is a curious timber - very hard and tough when dry, but when wet, very pliable and almost rubbery.
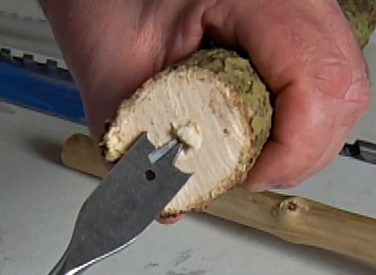
It also has the unusual feature of a core of soft pith running right down the centre - this, I hope, will make it easier to hollow out - the theory being that the lead point of my spade drill bit should follow the path of least resistance of the soft central pith, and this should keep the bore centred within the branch.
As I'm using a spade bit, I can't just mount the branch in a clamp and drill down into it - the waste material will choke the hole and jam the drill bit solid within the workpiece. A different, slightly unconventional approach is required:
I've actually mounted my drill upside down in a bracket. I will present the workpiece to the drill and push it downwards.
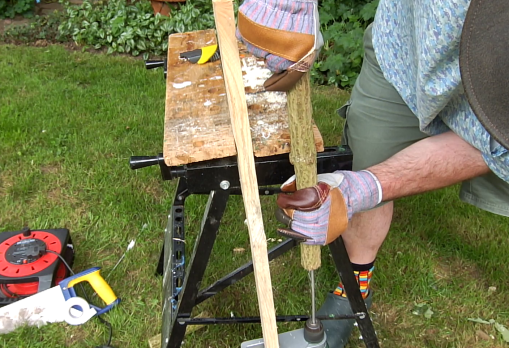
This presents a few safety challenges - firstly, the fact that when the workpiece is not in place, there's a spinning drill sticking up in mid air waiting for me to poke myself with, or snag my clothing on, so I was extra careful. The other risk is that the drillbit could just burst out of the side of the branch and I may catch myself on it - to mitigate this, I made sure to hold the workpiece well away from the area where I knew the end of the drill bit to be.
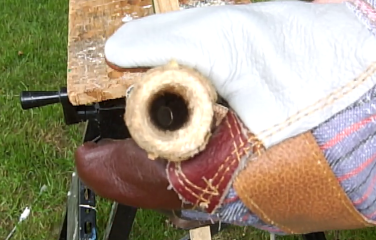
Anyway, it worked. It was hard work and the friction caused the green timber to emit copious steam at times, but I ended up with a nice, fairly clean 19mm hole all the way down the centre of the branch.
I considered mounting the piece between centres in my drill powered lathe, to remove the bark and turn it completely cylindrical, but the piece isn't straight enough for that - I would break through the wall somewhere. Anyway, this is a folk instrument we're making - it's supposed to have a sort of rustic, knobbly look to it.
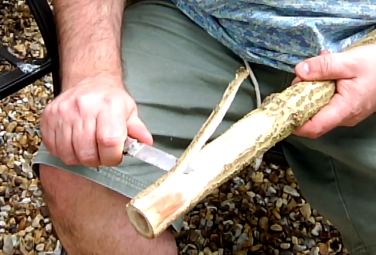
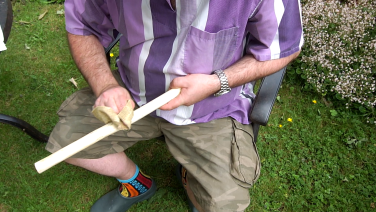
So I just shaved the bark off with my pocket knife. This, and the hollow centre, should allow the timber to dry in a matter of days or weeks, rather than months or years.
A week later, my hollow branch had dried very significantly - it shrank in diameter by maybe 10 percent and felt a lot lighter and stiffer than it was originally.
I sanded the outside smooth and filled in a little crack that had opened up at one end (using epoxy mixed with wood dust saved from sanding), then I cut a voice hole near one end.
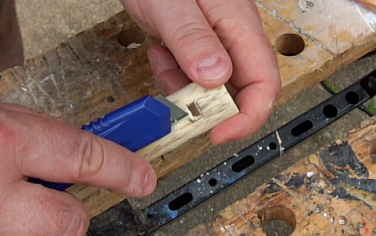
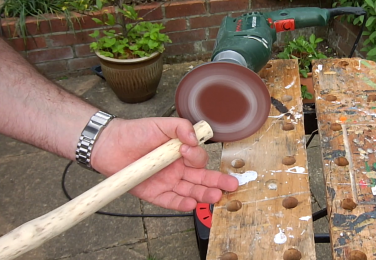
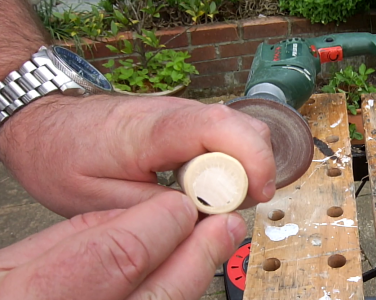
Next, I made a small cylindrical fipple plug out of hazel wood and formed it to fit snugly inside the end of the bore.
I cut a shallow notch lengthwise in the plug.
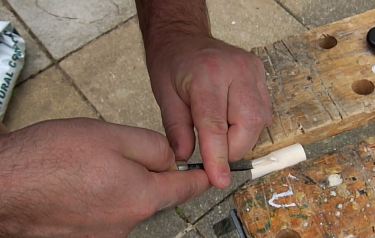
I glued it in place - testing by blowing as I positioned it - for this reason, I used nontoxic PVA glue as I didn't fancy getting something like epoxy in my mouth.
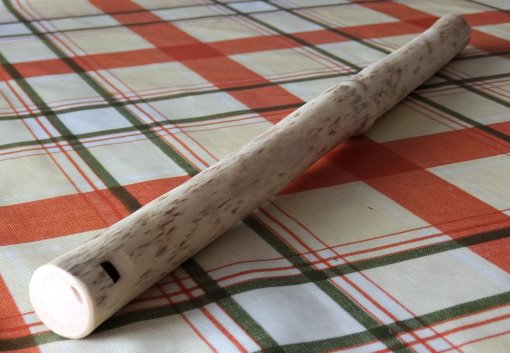
When the glue was dry, I cut the plug flush with the end of the instrument, then sanded it smooth.
The result is a narrow windway that directs a stream of air at the tapered lip of the voicing hole.
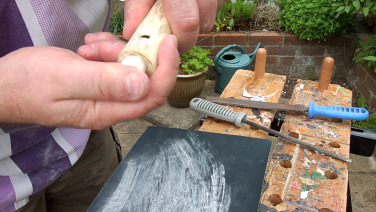
Finally, I finished the outside of the instrument with a mixture of beeswax and linseed oil, then rubbed it vigorously with a soft cloth to polish it.
I'm really happy with the way this project turned out. It's traditional to decorate these instruments with intricate floral and vinous patterns, but I decided that I actually really like the mottled appearance of the natural wood.
Playing The Koncovka
It's not all that difficult to get a good range of different notes out of this interesting instrument. I need some practice on it of course, but it's a lot of fun.
Video
Here's the video version of the whole process of makimg the thing:
Note
Before, during or after the video(s) embedded in this page, the player may display advertisements or links to additional videos - these are not affiliated to Atomic Shrimp and the selection is something over which I have no control.
