Building A Boat - Page 5
By Mike on Wednesday, July 11, 2007, 21:50 - Permalink
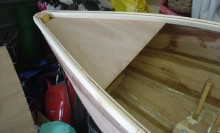 More bits and pieces of progress, building my little boat...
11 July 2007: Not a bad night's work. I sanded down the underside of the gunwale - inside and out - there were a few glue drips and such to remove.
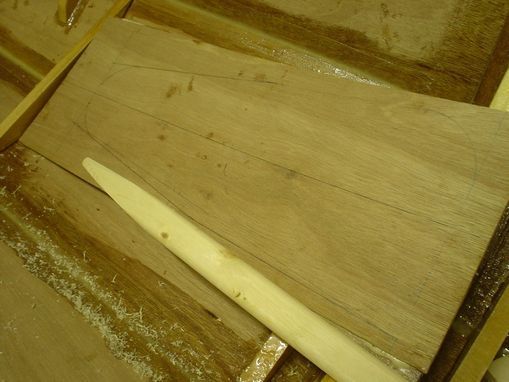 I laminated some curved supports for the decks (see below), I planed the end of the paddle shaft to a nice taper and I marked up the outline of the paddle - but it was too late in the evening to get the jigsaw out to cut it.
Bent timber - plan B
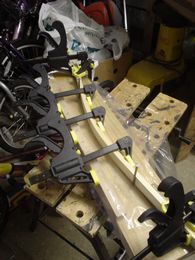 I rummaged through my stock, but I don't have any more suitable timber for steam (or oven) bending, so I decided to make up the curved timbers from spruce laminations as I did with the gunwales.
Using the jig I originally built for steam bending, I clamped up two 8mm spruce laths - nice clear pieces entirely free of knots.
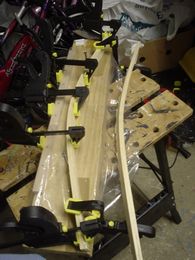 I used polyurethane glue again and the advantage with that is that it cures in a couple of hours, so I was able to remove the first section from the jig and clamp up a second one.
It retained its bend really well and - presumably mostly because it's stressed - it's a lot more rigid than the equivalent size of straight, solid timber would have been - it's almost as stiff as the piece of beech I tried to bend previously - but at a considerably lower weight.
16mm should be OK for these sections, but if not, I can always clamp another lamination to these existing curved pieces.
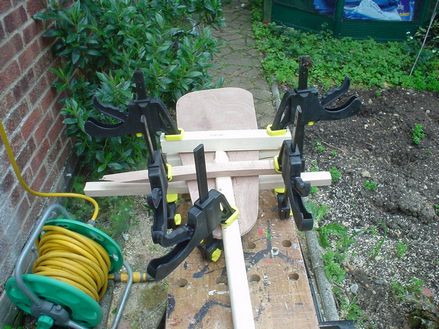 12 July 2007: I cut out the paddle blade today and glued it into the shaft. I'll be rasping and sanding down the other gunwale later.
Both of yesterday's curved laminations came out well - they're slightly different from each other - this would matter if I was making a rocking chair, but as they'll be at opposite ends of the boat, it doesn't matter if they don't match exactly.
Fun and games with epoxy
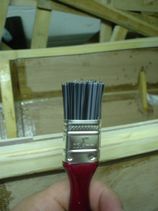 Epoxy is great stuff, but I've thrown away countless brushes, gloves, mixing sticks, spreaders etc that have come into contact with it. I trim the brushes down to about half their original bristle length for applying the resin on the seams
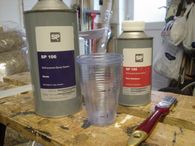 Mixing apparatus consists of two plastic cups - the measurement markings are on the outer one (having been set up by measuring quantities of water into another inner cup) - that way, the outer cup with the measurements on it can be used again and again
I had a bit of a weird thing happen with the epoxy this time (13 July) - I had a little left over after glassing, so I thought I'd mix up some filler for a few low spots in the gunwale infill. When I added the wheat flour to this resin (I've only ever used it with the pre-thickened glue before) - it mixed in OK, but the pot and contents suddenly heated up a lot - becoming almost too hot to hold - I don't think it was a chemical reaction with the flour, as such - I think it was just that the flour particles provided lots of surface area - so this was the equivalent of spreading the resin out really thinly.
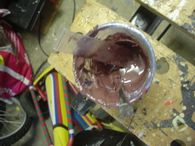 I added some microballoons, and it looked like melted chocolate and seemed to stay quite runny, but the moment I spread it in place, it was curing straight away - almost sticking the spreader down as it went.
As a consequence, the filling job was just a messy daub, so there will be some more rasping and sanding to do later.
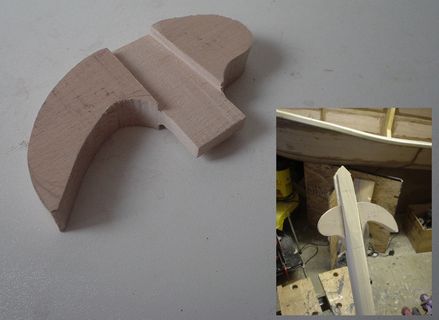 13 July 2007: Lots of progress today - I glassed the internal seams (the ones joining the extra top panels), I cut a beech handle for the paddle and fitted it - the handle has a hook on one side so I can use the paddle as a boat hook if necessary
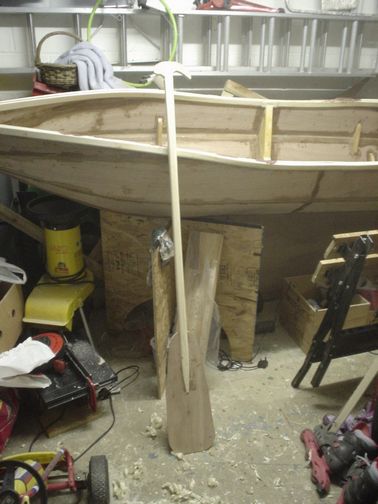 After the glue set, I trimmed the excess shaft off flush with the top of the handle - I also planed down the shaft a bit - a little off the front and back at the top, so that the shaft blends into the handle - and a little off the sides on the free section of shaft, to make the whole thing a bit lighter and easier to manage.
With the left over epoxy from glassing the internal seams, I mixed up some coloured filler to patch a few dips in the gunwale infill, but that was a bit of a mixed result (see above right)
The end is in sight now - just the decks to make and fit, the bottom seams to sand and glass, then we can start painting and varnishing. Oh, I have to make the duck boards, but the rest of the project need not be held up for that, as they will be fitted to be removable.
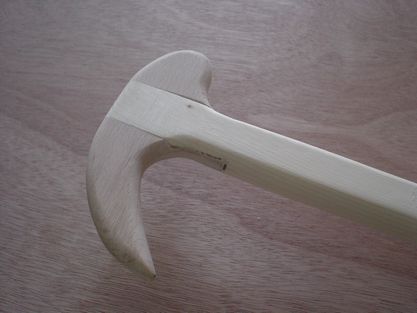 14 July 2007: Another quite productive day. I ran the router over the paddle again to round off the edges where I planed it thinner - and also to round off the handle, then I spent a good while sanding it. It came out well - there are a few small areas that need filling and sanding again, but it feels good now.
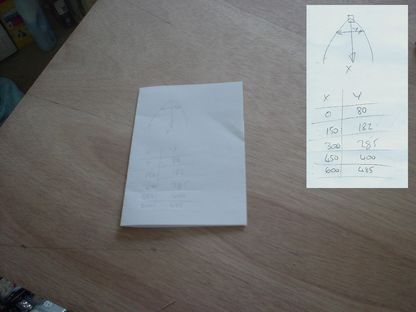 I also cut out the decks - I measured the width at intervals, then used these measurements to draw the outline of the deck on the ply sheet.
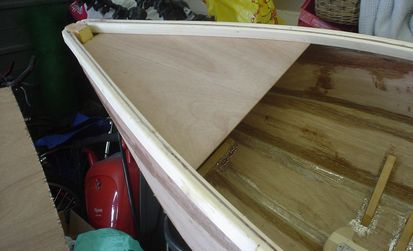 After cutting out and a little bit of trimming to correct for errors, the deck was trial fitted
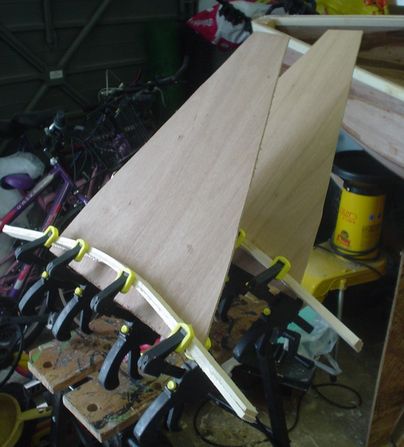 I used the first deck as a template for the second, so cutting that one was quicker. Then I glued the curved support timber on them - they'll also get a support timber running lengthwise down their middle. The excess ply inside the curve will be trimmed back with the router.
 15 July 2007: With my son's assistance, I ran the router (quadrant bit, set to minimum depth so as not to lose too much timber) across the curved ends - trimming away the excess ply quite neatly, then I trimmed off the ends of the timber supports (getting the right angle here was tricky and as a consequence, there's a small gap to fill, but nothing serious) and glued and clamped the decks to the underside of the inwales at either end.
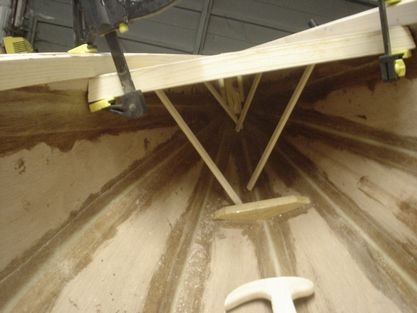 Only the end section with the support was accessible for clamping, so the edges further in were pushed up against the underneath of the inwale by jamming thin battens in place - these are just a push fit, so they'll be coming out when the glue cures, after which I'll probably apply a bead of glue/filler to the joint on both sides.
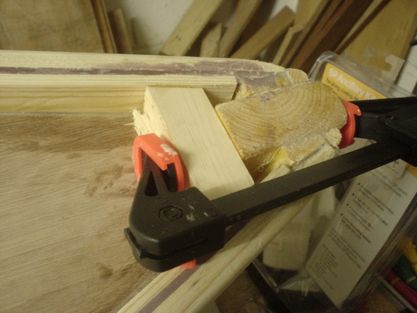 16 July 2007: Just a couple of fiddly bits tonight not much else I can do for now - I glued in some ends on the decks - these are to seal the deck so that nothing rolls down the falls through the small gap at the end. this section will be covered up by a breasthook, onto which a cleat will be mounted.
And I started making the shaft for a second, smaller paddle (my son is keen to join me on the maiden voyage - better buy another lifejacket!)
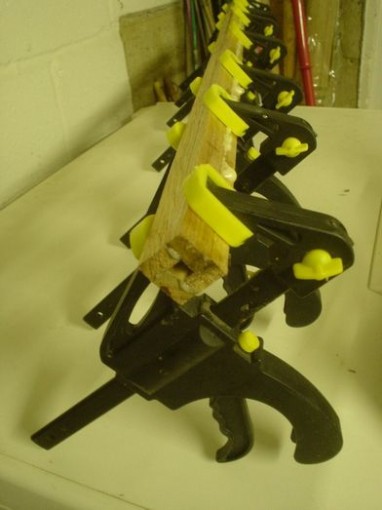 For a bit of fun (and because I'm a cheapskate), I'm making this paddle shaft out of reclaimed timber, which required a bit of ingenuity to build up the required size - but in doing so, I've ended up with a hollow form which will be both strong and light - see below for more details of the process - here it is being clamped up
Making use of reclaimed timber in odd sizes
I probably should just go and buy a small piece of suitable timber, but that would be too easy. To make the shaft for the second (smaller) paddle, I selected a couple of decent planks from an old pallet - I have no idea what sort of timber it is - it's very light with a long, fibrous grain.
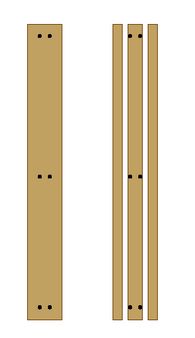 Anyway, the trouble with planks taken from pallets is that they have holes in them from where the nails used to be - but in this case, there was about 2cm of usable timber at either edge, so I ripped this off with the circular saw
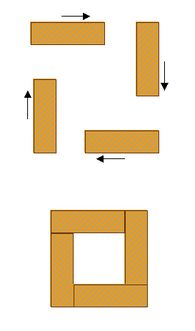 I repeated this process for the second plank and I was left with four fairly decent strips of timber, but they're individually quite thin, so I glued them together like this (end view):
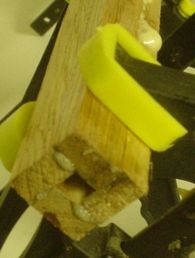 The result should be a strong, hollow long timber box - I need to be careful that I don't break right through it when I cut the slots for handle and blade, and when I round off the corners, but I think I can manage that - it's not an enormous void in the middle.
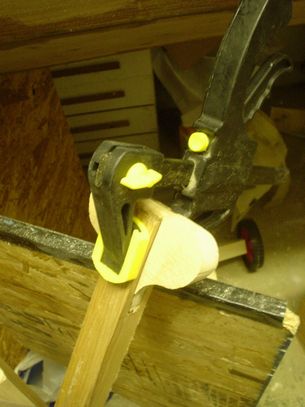 17 July 2007: A day of lots of odds and ends of jobs. I cleaned up the laminated shaft for the second paddle (the foaming action of the polyurethane glue caused it to completely fill the central void - which is good. I cut out and jointed in a beech handle for this paddle.
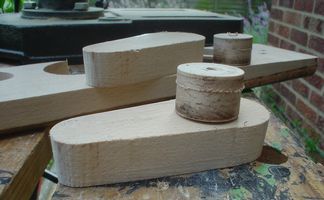 I also started making the cleats for the ends of the boat - I could have just bought them, but that's more money and anyway, I prefer the look of wood, not to mention trying to keep the weight down on anything else I'm adding above the waterline. So I cut some asymmetric ovals and some circular posts from one of my pieces of reclaimed beech - these will be tidied up and rounded off before fitting to the boat.
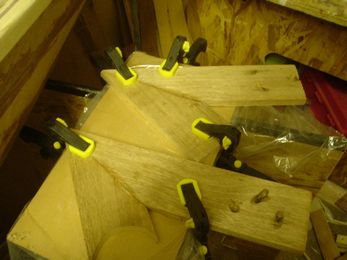 I cut and glued some timber pieces for the breasthooks (these will go on top of the end posts).
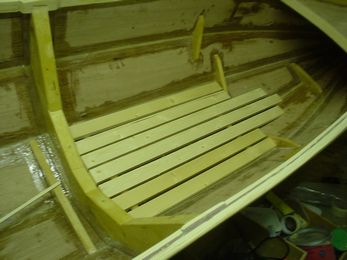 I roughly cut out some planks for the internal duck board decking
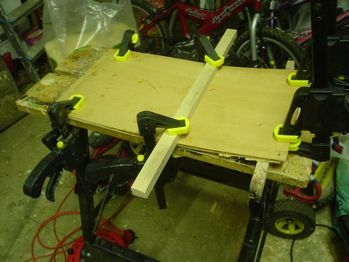 And finally, I laminated some bent ply for the second paddle blade.
18 July 2007: Another quite industrious evening - I cut the remaining deck boards, cut a quarter circle on their bow and stern ends, then ran the router quadrant over them to round off all the sharp edges. Constructing the actual deck took a bit of thinking through, but I have a plan - see above right for details.
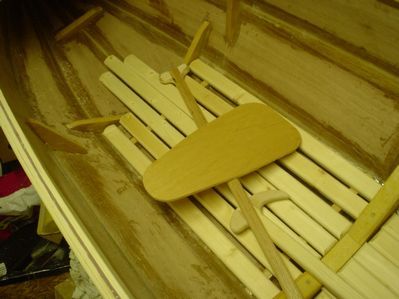 I also cut out the blade for the second paddle (the ply retained the bent shape OK) and tapered and rounded the shaft. It needs assembling, then a lot of sanding, but the multi-laminated shaft has worked quite well.
The reason the deck boards are all different lengths is that this is as long as they can individually be before they touch the upward curve of the hull.
Fitting The Internal Deck
I'm faced with an interesting design hurdle for fitting the internal deck. Of course, I could just say that I anticipated and solved this one right from the start, but in fact, I'm just 'winging it' on a lot of stuff here.
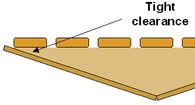 Anyway, the problem is this: The internal deck boards rest directly on the main strengthening ribs in the bottom of the boat - that's fine, except that I want some way to fix them all together into a single unit. This would be easy if there was unlimited clearance under the whole of their width, but there isn't - the edge boards have very little space below, due to the shallow V shape of the bottom
Also, although there are some ways in which it would be ideal, I don't want to just glue them directly onto the rib, because that would create an inaccessible void underneath the deck in which debris, dropped items and water could collect and prove difficult to remove.
So the deck boards need to be fixed to some sort of battens - these can be carefully set so that they don't clash with the longitudinal position of the ribs, but there's still not enough space under there to permit a batten thick enough to receive fixing screws, and gluing might not stand up to the inevitable flexing that will occur with it being used as a floor.
 So the solution, I think, is this: Use a slender batten of strong timber (probably beech again), then drill the deck boards and batten and lace the whole lot together with strong cord, like this
That should do it, I reckon.
Because this part of the boat will be subject to considerable wear, I'm not going to varnish it - varnish could chip, flake or abrade off, leaving unprotected wood. So the internal deck will be thoroughly oiled with linseed.
Finally, I marked up the breasthooks for cutting out tomorrow.
Short Grain
Gluing carefully-angled pieces of wood together to make the breasthooks (below left) might seem like a lot of hassle, but it is done for more that just aesthetic reasons - it's mainly to avoid the problems of short grain.
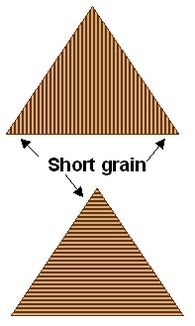 Solid wood is usually comparatively weak across its grain, so it's easy to split along its length - if we were to cut a triangle from a single piece of straight-grained wood, short grain is unavoidable, regardless which direction it is cut
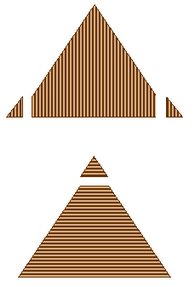 As a result, the corners would be very prone to breaking off
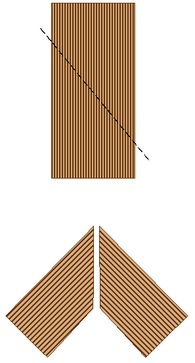 The solution is to cut diagonally across the straight grained board, then rotate one piece and glue it back together as a mitred joint, like this:
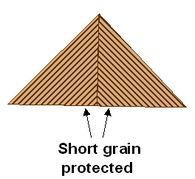 Then when it is cut into a triangle, the grain is parallel to the exposed sides, making it very strong - the corners that still have short grain are protected in the middle and are strengthened by the glued joint.
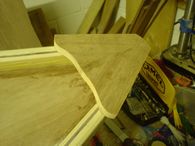 So here's one of the breasthooks in place (not fixed yet though)
19 July 2007: A few more odds and ends today, but this page is full now, so we need to move on again to another one
