Making A French Knitting Bobbin
By Mike on Saturday, August 23, 2008, 21:43 - Permalink
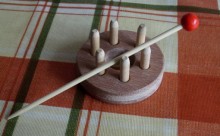 French knitting has been around for centuries - here's how to make and use a French knitting kit
The ancient origin of this craft is a fact attested to by the vast array of different names for the implements used - the bobbin used for French knitting, for example, is also known - amongst many other things - as a Nancy, or Nobby, or Busy Lizzie.
The origins of these crafts are also obscure and it may be that they arose multiple times independently.
Making The Knitting Device
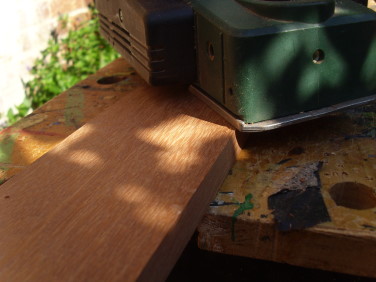 I started with a piece of reclaimed timber - some nice, but unidentified reddish hardwood originally part of a pallet carrying goods imported from Asia.
Using an electric planer, I smoothed off the two faces of the board - I didn't pay too much attention to the edges, as the item doesn't use them - being cut from th
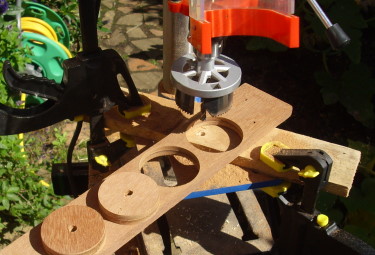 Next, I used a 60mm holesaw in my drill press to cut out a circular blank. This can be done with a handheld power drill, but it's tricky to keep the drill vertical - if you tilt it, the saw may bite or bind.
I found it best to cut halfway through, then flip the board over and cut through from the other face - cutting right through in a single operation tends to leave a ragged edge on the bottom of the blank - when the piece breaks free.
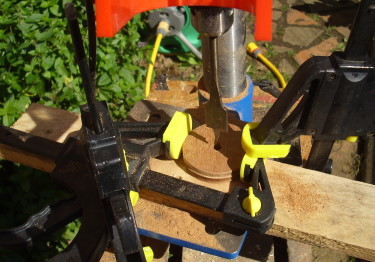 I clamped the blank down firmly and drilled out the centre hole with a 20mm spade bit - again, drilling halfway from each side to minimise breakout.
The clamping is essential - I tried doing this once just holding down the blank with my hand. The drill caught and spun the wooden disc, cutting and driving splinters into my thumb. Not a mistake to be repeated - learn from mine!
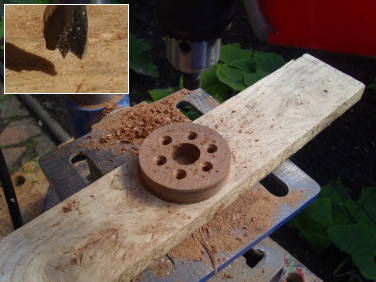 I drilled six countersunk holes at equal intervals around the disc.
The drill was set to stop short of the bottom (see inset) so that the hole wouldn't go all the way through - this isn't essential, but it makes the underside of the finished item neater.
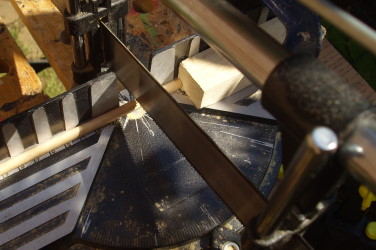 Next, I cut six pieces of 6mm dowel - I clamped a stop to my mitre saw box so that they would all be exactly the same length.
The dowel pieces are about 30mm long - 10mm of which will be buried in the base, leaving 20mm stubs protruding.
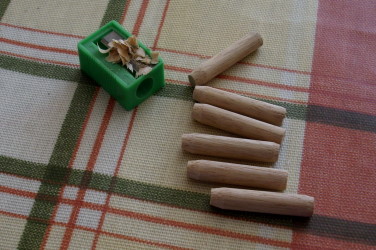 I tapered the ends of the dowel pieces with a pencil sharpener.
the bottom end is tapered to make it enter the hole easier. The top end is tapered a bit more, so it doesn't snag on the yarn when in use.
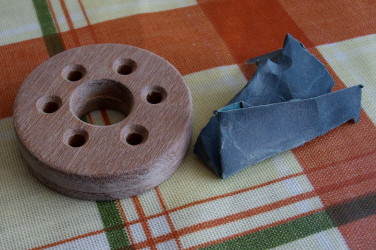 The boring bit. I hate sanding, but it's necessary. I used coarse glasspaper to take off all the rough edges and splinters, then finer wet & dry paper to give a smooth uniform finish.
I won't be varnishing or waxing the finished item as this might make it sticky.
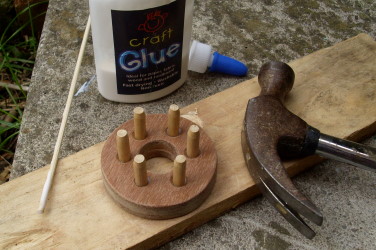 Assembly. I smeared a very small drop of PVA glue around the inside of each hole, then drove the dowel pegs in.
A bit more sanding (the tops of the pegs) and it's finished. The knitting needle is just a piece of bamboo BBQ skewer, sanded smooth and blunt, with a wooden bead glued on the end.
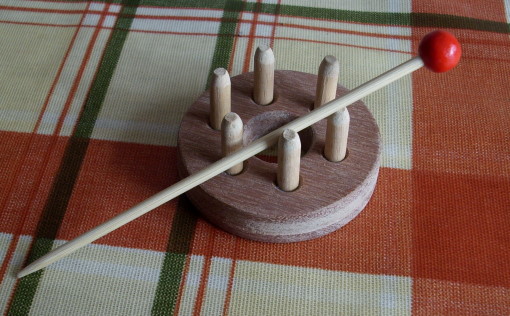
French Knitting Using This Device
This bobbin is a bit unconventional - they normally only have four pegs - but that doesn't matter. On the next page, I'll demonstrate how to use it.
