Capturing And Taming Wild Yeast
By Mike on Wednesday, May 14, 2008, 15:52 - Permalink
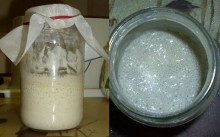 I decided to have a go at capturing and taming some wild yeast for breadmaking.
I started with a clean glass jar and three tablespoons of flour - two white and one wholemeal (the wholemeal is from the working medieval watermill at the Weald & Downland Open Air Museum - Hoping that this would have enjoyed just a little more exposure to interesting wild yeasts than the industrial plain white flour I have in the cupboard.
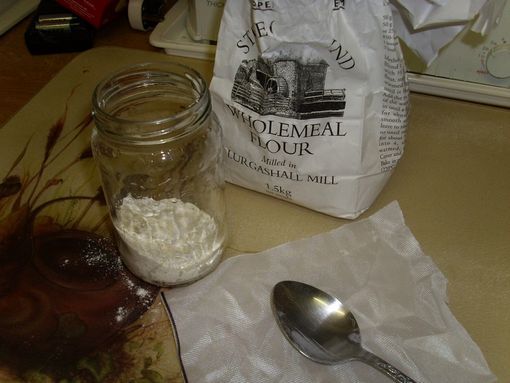 I mixed the flour with about the same volume of boiled (cooled) water - stirred it up and covered with a piece of gauze.
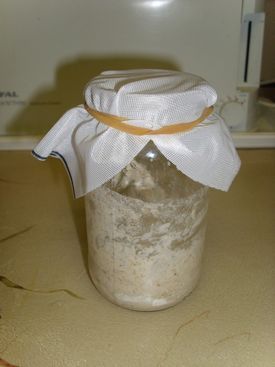 Now I have to wait until something happens - something bubbly... I'll update this article as things develop (or otherwise).
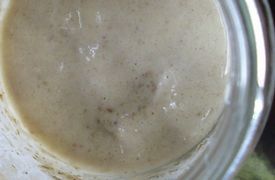 Day 3 and it's starting to bubble...
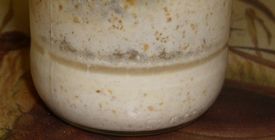 Day 4: more bubbling and a layer of clearish liquid on the top. Smells sort of tangy.
Refreshing
Time to refresh the mixture - I tipped off the clear liquid, reserved a spoonful of the mix and washed out the jar very thoroughly.
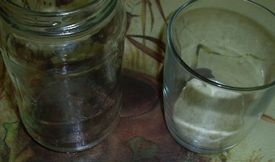 Then I made a new mix - just plain flour and cooled boiled water this time, stirred the reserved bubbly mix in and covered it up again. More waiting now...
Day 5: Quite bubbly now - and it smells a bit like beer - I'm taking that as a good sign. I refreshed the mixture again with a new batch of white flour, water and two spoonfuls of the existing mix
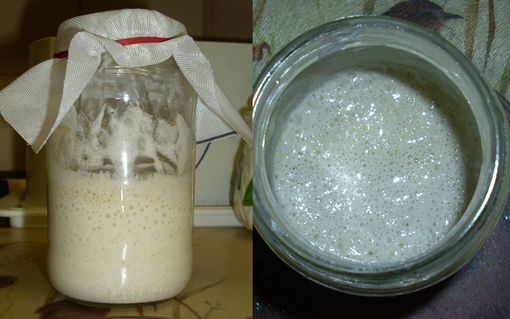 Day 6: Wow! Very bubbly and active (see below). Smells pleasantly yeasty - looks like I can declare this part of the project a success!
OK... now what?
I've never actually made bread with a live yeast culture before - so it looks like I've got a little research to do before proceeding...
Onward!
What I'm doing next is to make up a small ball of dough, using flour, water and my starter paste.
 The dough is going in a floured container overnight - in the morning, I'll probably transfer it to the fridge. Portions of the dough can then be used to start 'sponge' batters, or used directly to start dough (with a longer proving time). One portion of the dough will always be kept back and refreshed to keep the culture going.
Before we go on and try making some bread, let's just ponder...
Why Bother?
In these days of convenient freeze-dried instant packet yeast, why go to all this bother?
It's a good question - In fact, Why bother making your own bread at all? - why not just buy it?
It's certainly not about saving money - although it is generally a bit cheaper to bake your own.
There are quite a few reasons, really, including:
It's just an interesting idea
I mean, you're bothering to read this, aren't you? See? It's at least slightly interesting.
It's a way of connecting with the past
this is how it used to be done - well, something like this - and the bread I end up making this way will hopefully be something like the bread of yesteryear. So, like visiting a museum or reading a history book, this is a way of connecting with the past.
It's a little bit like magic
You start with just flour and water and end up with bread - actual, real bread - that's almost too amazing to believe.
But it's also science
it's an experiment. It might fail. it might succeed - anything could happen, but I will learn something.
And you can't buy stuff like this anyway
my captured yeast might not be a strain that is in common use by commercial bakers. This might be a good or bad thing - but it will certainly be mine.
Making the bread
Here we go then - it's been a week since I started the yeast capture, and now I'm ready to put it to work. I mixed up an ordinary batch of dough - one pound of white flour, a little over half a pint of water (cold in this case, as I don't want it to get going too fast). I had to check and stop myself just adding a packet of yeast without thinking.
Into this dough, I added about three quarters of my starter dough - broken up into little chunks.
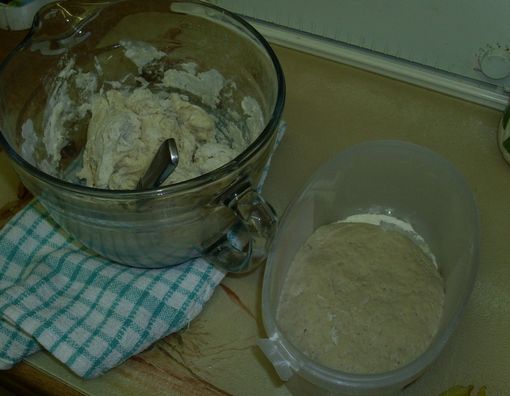 I kneaded that all together for ten minutes and returned it to the bowl - it will be left in a cool room to prove overnight (that will actually only be about five or six hours).
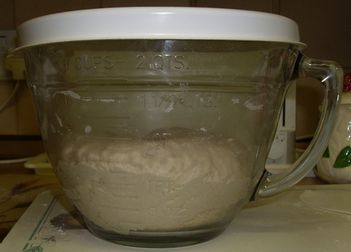 In the morning
I got up just after seven to find it looking like this.
- which is just fine. Unlike fast-proven bread doughs made with active dried yeast, this one didn't deflate at the slightest touch, in fact it took some effort to 'knock back' (meaning the second kneading - done to make the gas bubbles in the dough more uniform, resulting in a better texture in the finished loaf)
After knocking back, I formed it into an oblong shape, put it on a tray and left it in the airing cupboard (where the hot water tank resides) - half an hour later, it had doubled in volume - I slashed some diagonal cuts in the top and put it in the oven to bake. I didn't use any egg or milk wash - just put it in plain.
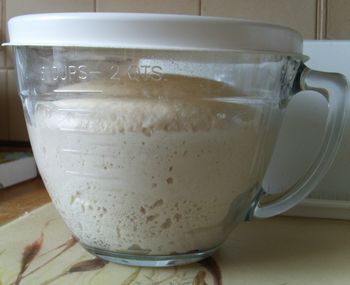 After about twenty five minutes, it came out looking like this.
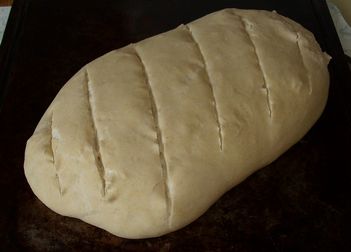 I was pretty pleased with that - it had 'sprung' quite a bit in the oven and had doubled the height. The slashes in the crust obviously weren't deep enough - they should have opened up more - but I'm not crying over that.
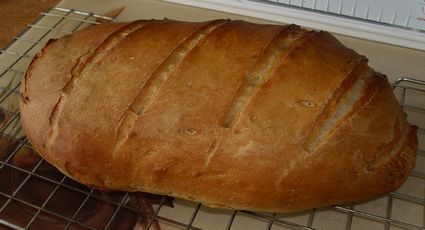 The aroma was just fantastic! - and distinctly different from what I normally experience when I make bread - it's a sort of intensely fresh bakery smell - the 'sour' in 'sourdough', I suppose, although not in any kind of an unpleasant sense of that word.
So lunch consisted of slices of buttered wild yeast loaf, garlic and chive goat cheese, ham, salad and a couple of the pickled walnuts I made last year (which, incidentally, are also very good).
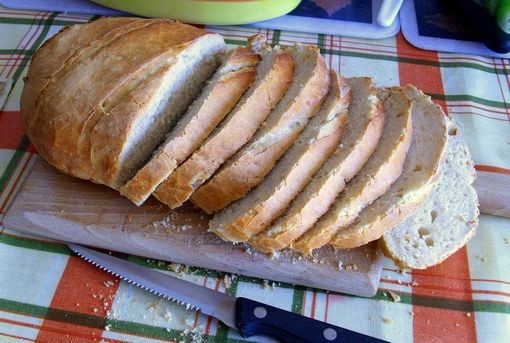 The bread is very crisp and crunchy in the crust; substantial, but even and springy in the crumb. The flavour isn't as striking, unusual or distinctive as I was expecting - there are certainly subtle complexities to it - and that's enjoyable - but the experience is really just that of eating very nice bread.
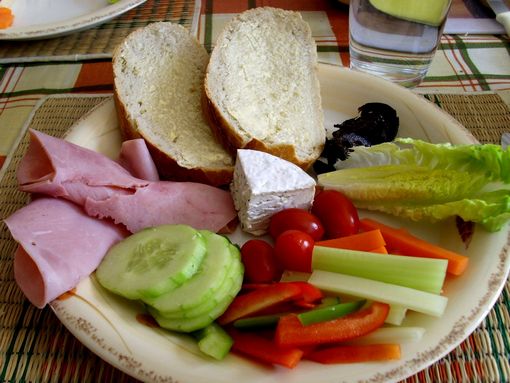 So all in all, it's been a completesuccess, and a hugely rewarding experience. I've still got some of the dough culture set aside for something in a few days time.
The Wild Yeast Culture
It's possible to keep these things going indefinitely - you just keep using most of the starter culture, keeping back a portion to start the next batch
I baked some more loaves - using the third generation of mother dough (since the first baking, that is); I used the second one to make a pizza base one night.
But subsequent generations of bread are better than before - the culture has definitely become more lively and flavourful - I think I made up the dough just a little on the moist side, so it was quite saggy at the time it went in the oven, but it sprang up very well and produced two decent loaves.
Oddly, because sourdough isn't widely available here, I have no real way of knowing if mine is like it's meant to be - but it's good - I would describe it as:
- Sour, like vinegar, but not nearly so brash and harsh (in fact it's subtle in all of these described characteristics)
- Tangy, like yoghurt
full-bodied - like beer - no - like a brewery
None of that sounds particularly enticing, I know, but those are all inadequate, fumbling exaggerations - mere description cannot convey what this bread is like.
