Recycled Paper Butterflies
By Mike on Tuesday, March 29, 2011, 21:42 - Permalink
 These colourful paper butterflies are great for brightening up a dull wall, or pinning on a gift - they're easy to make, using any colourful paper - even an ad page from a magazine.
Materials
You'll need:
- A piece of colourful wrapping paper or a page from a magazine - about A5 size or larger
- Scissors
- PVA glue - ideally in a bottle with a fine nozzle
- A clothes peg
- A toothpick
- A pen or pencil
- A rule or other straight edge
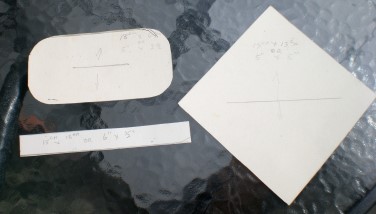 If you're going to make more than one of these, it's worth making card templates for the main pieces - so you'll need to make:
A 5 inch (about 13cm) square
A rectangle, 5 inches by 2.5 inches (about 13cm by 6.5cm) - with the corners rounded off
A strip, 1 inch by 6 inches (about 2.5cm by 15cm)
Materials
Colourful ad pages out of magazines work well for these butterflies - alternatively, patterned wrapping paper could be used, or plain paper with hand-coloured designs or markings.
If you're making a large number of butterflies, it's probably most efficient to batch up the production so you make all the wings, then all the bodies, etc, then just assemble the parts.
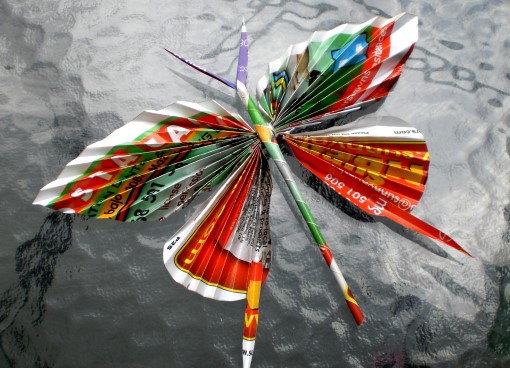
This is a great rainy-day craft and although it's quite easy, the results can be dazzling.
Credit for this page goes primarily to my Mum, who showed me how to make these when I visited her in Spain in April 2011 (you may have noticed that the magazine page I used isn't from England).
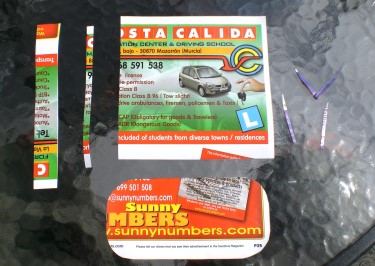 Use the templates to cut out pieces of paper. Also cut a long, thin ribbon-like strip about a quarter of an inch (about half a cm) wide.
Finally, fold over about 2mm (about the width of a matchstick) of an edge of one of the offcuts and cut a couple of these pieces off as long, folded slivers (if that description didn't make sense, hopefully it will become clear when they are used to make the antennae and tail spikes, below).
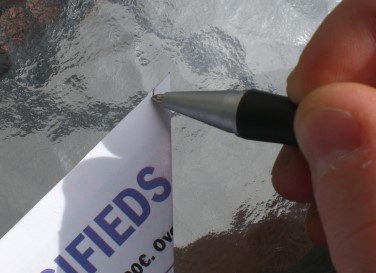 Fold the large square of paper in half diagonally. Make a small mark about 4mm in from the folded edge, at each end
These marks are to help align the straight edge for the first fold - see below. If you use a transparent rule for the straight edge, you might not need these marks.
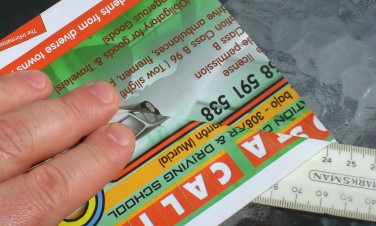 Line up the straight edge on the marks, then fold the top sheet of paper back on itself.
Remove the straight edge and press the fold down completely flat.
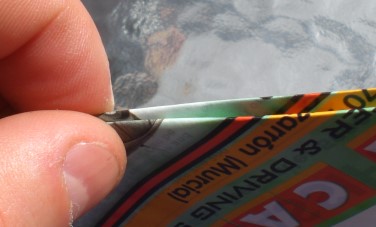 Turn the folded paper over and fold the other piece back, to mirror the first fold.
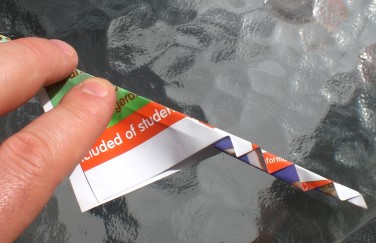 Keep folding each side back and forth (concertina fold) - try to keep the folded sections equal in width.
Keep going until there's nothing left to fold.
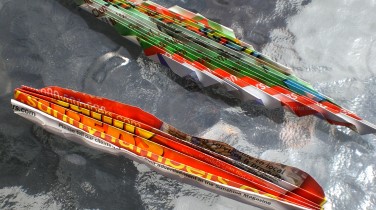 Do the same process with the rounded rectangle piece of paper, except folding it lengthwise, rather than diagonally.
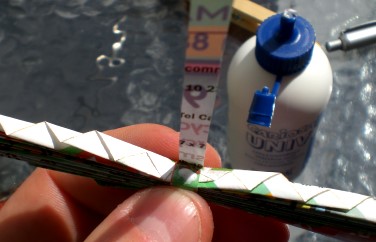 Wrap the thin ribbon of paper a couple of times around the centre of the diagonal-folded piece.
Secure it with a tiny drop of glue.
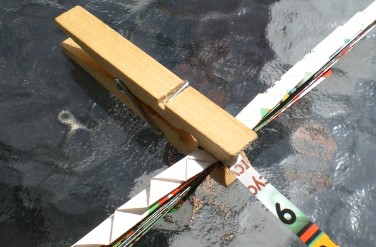 Use the clothes peg to hold the glued pieces together until bonded.
This should only take a minute or two. Set this aside and carry on working on the next part.
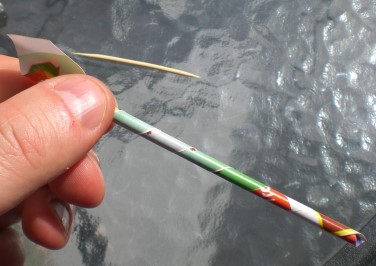 Wrap the 1 inch wide strip of paper diagonally around the toothpick to form a long, thin tube.
Dab a little glue on the last corner to keep it from unrolling.
The toothpick should drop out for use next time.
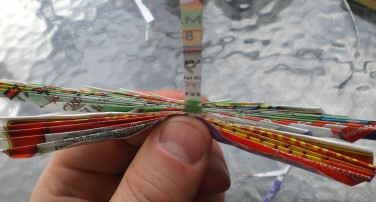 Place the second concertina-folded piece with the first and secure it in place by wrapping the paper ribbon piece around it.
Secure it with a dab of glue and use the peg again to hold it together until bonded.
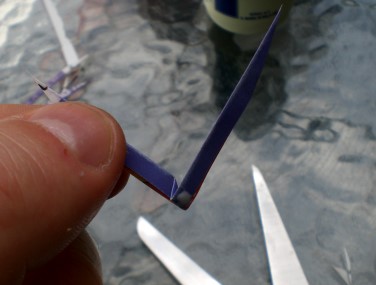 Take one of the thin folded slivers and trim the ends to taper them.
Fold it in half, then splay the ends. This will be the butterfly's antennae.
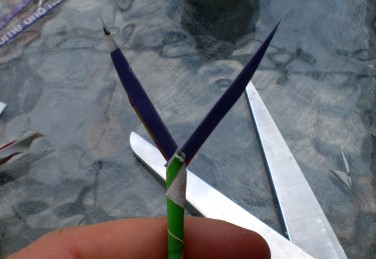 Flatten the rolled tube a little at one end, then cut it to a point.
Apply a small drop of glue, then insert the folded part of the antennae into the end.
Set aside a moment to allow the glue to set.
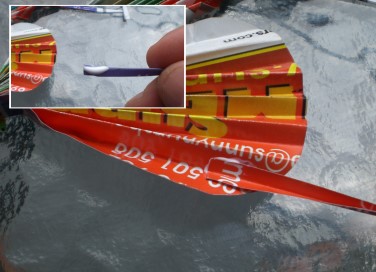 The glue on the concertina-folded parts should be dry enough to handle. Splay out the folds a little - and the form of the wings will start to appear.
Take the other small folded sliver of paper and taper the ends, then cut in half. Take one half, open it out and glue it into the bottom fold of the lower wing (the one with the rounded profile).
Repeat on the other side.
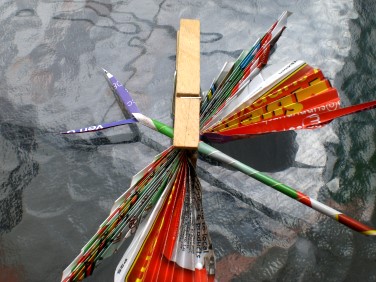 Apply a small drop of glue on the front of the assembled wings. Flatten the butterfly's body a little and fix in place on top.
Make sure it's all straight and square, then clip together with the peg. Leave it alone for a good while this time, until the glue is completely dry.
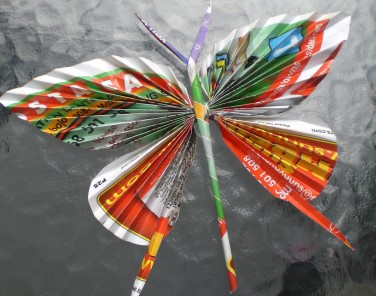 When it's dry, remove the peg and carefully open out the concertina folds - if they spring back closed, they can be made to relax by holding them over a cup of hot water.
If you're using a magazine page (as here), the text and content of the page is generally obscured by the folding. It's possible to carefully select the pieces you cut out to try to end up with a symmetrical appearance in the finished wings.
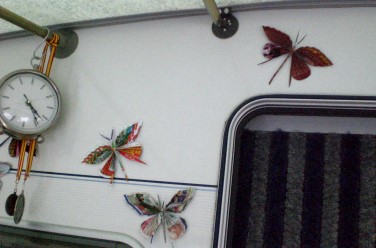 Because they're so light in weight, they're easy to fix up with a little bit of tape or Blu-tack - a collection of them in all different colours looks really great.
