Pumpkin Seed Ice Cream
By Mike on Sunday, April 21, 2013, 12:08 - Permalink
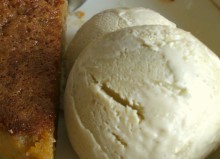 This is a recipe for ice cream made with toasted pumpkin seeds.
That might sound like a strange flavour for ice cream - and it is, but the result is nutty and delicious.
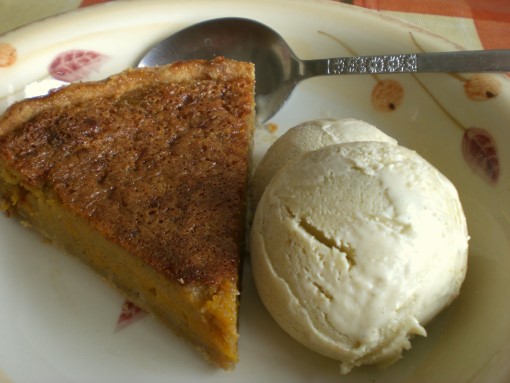
Similar in taste to pistachio (but nicer, I think), this pale moss-green ice cream looks and tastes great when served with a warm slice of pumpkin pie.
The Recipe
Ingredients:
- For The Ice Cream
- 100g Green pumpkin seeds (the peel-less kind)
- 300ml Double cream (48% fat)
- 140g White sugar
- 4 Egg yolks (free range if possible - it does make a difference)
- 560ml Semi-skimmed milk
- Quarter of a teaspoon of salt
- You Will Also Need
- A blender or food processor
- A digital probe thermometer
- A few dozen ice cubes (for chilling the mix after cooking)
Method:
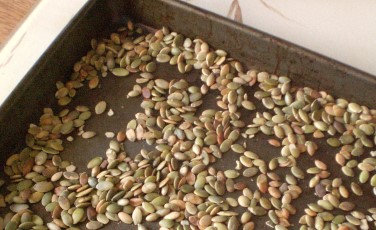 Spread the pumpkin seeds on a metal tray and toast them in a preheated oven (150C) for five minutes.
They burn very easily, so keep an eye on them - they should come out very slightly browned - still mostly green in colour.
Transfer the seeds off the metal tray (or they will continue cooking) - spread them out on a plate to cool.
Put the seeds together with some of the milk and blend them - ideally to a smooth texture with no visible pieces of seed.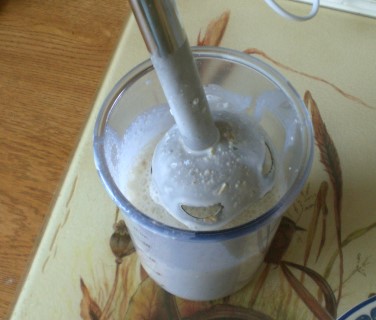
I found the handheld blender best at this job.
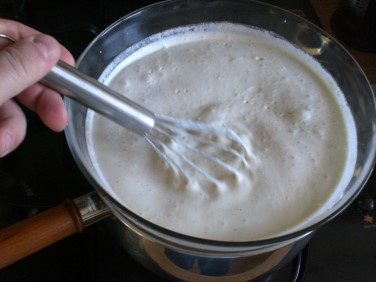 Mix everything together in a large heatproof bowl - the remaining milk with the other ingredients - the cream, egg yolks, sugar, salt and the pumpkin seed mix.
Place the bowl on the top of a pan of boiling water and heat it, whisking all the time.
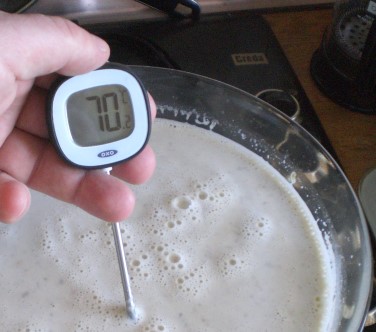 Here's where an accurate thermometer is quite important - the mixture must be heated to just above 70 Celsius, and held at that temperature to cook for at least half an hour.
We are essentially making a custard here - if the temperature does not reach 70, it will not cook, if it goes much over, it could curdle (like scrambled egg), or the mixture could acquire a scalded flavour.
The texture will thicken and change a little, but only quite subtly - so you can't rely on this to judge the temperature.
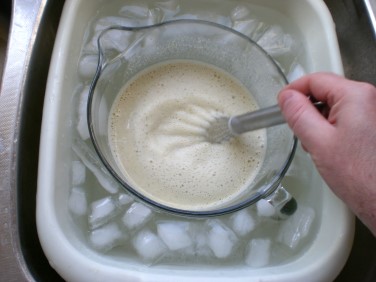 Once the mixture has been cooked, it must be cooled rapidly to avoid spoiling - a mixture of this composition could easily provide the ideal conditions for rapid bacterial growth if left warm for too long.
Sink the bowl into a bath of ice and water, whisking it to circulate the mixture against the cool surface of the glass. Take care not to splash any water from the ice bath into the mix.
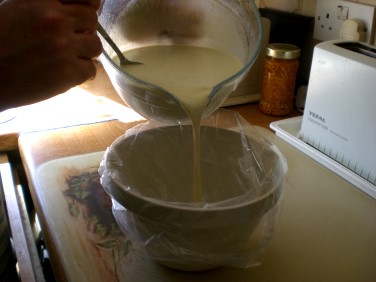 When the mixture has cooled, pour it into strong plastic bags and close them securely (I used a twist tie and a metal clip together, to ensure a good seal.
Place the bags on a tray and put them in the fridge to chill for a few hours - ideally overnight.
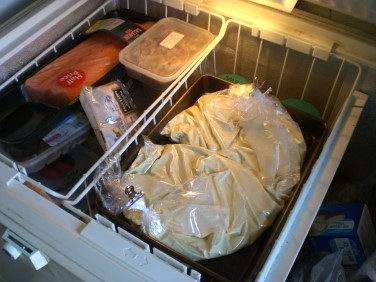 Place the tray in a very cold freezer - if yours has a 'super-freeze' button on it, use that to boost the refrigeration - the faster the ice cream freezes, the better.
Leave to freeze completely.
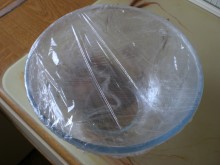 Meanwhile, cover a clean glass bowl with plastic film and place it in the freezer alongside the mixture.
The finished ice cream will be packed into this bowl - pre-chilling it like this means that it won't melt the contents as they are added.
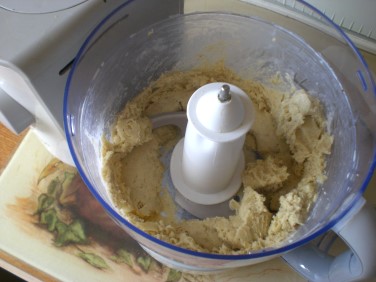 When the mixture has completely frozen, take it out of the bags and break into pieces by hand.
Working fast, blend the pieces on a food processor to a smooth paste, then scoop this out and pack in the chilled bowl.
Cover the bowl and return it to the freezer - the ice cream will harden a little - this is normal for a traditional style unwhipped ice cream - just warm the spoon or scoop in hot water to serve it.
The End Result
The ice cream is rich, creamy and nutty - with flavours reminiscent of coconut and pistachio, but it's not quite like anything else - a delicious success - I am very pleased with this.
If I was going to do one thing different in future, it would be to try to blend the seeds to a completely smooth texture, then sieve the mixture - the little nutty pieces in this batch aren't at all unpleasant, but I think a completely smooth ice cream would be even nicer.
Tips
This recipe calls for just the yolks from free range eggs - there are several ways to separate them - for example, you can crack them in half, passing the yolk back and forth between the two halves of shell, spilling the white into a bowl beneath.
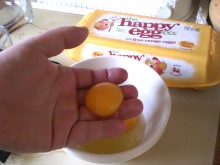 But probably the easiest way is to crack the eggs into a bowl, then gently lift out the yolks with your cupped fingers - allowing the whites to slip through.
This is easiest with very fresh eggs - as they get older, the yolk membrane tends to weaken and may break whatever method you use.
Free Range Eggs
Free range eggs are recommended for this recipe - it really does make a difference, as they tend to have richer, deeper-coloured yolks.
Egg Whites
Save the egg whites - they can be used to make meringues, macaroons, and many other things.
Special Thanks
Before creating this recipe, I studied up on methods, techniques and formulations at a brilliant website called Ice Cream Science - it's a mine of excellent information about how ice cream works, and how to make it.
