Building A Boat - Page 4
By Mike on Tuesday, July 3, 2007, 19:44 - Permalink
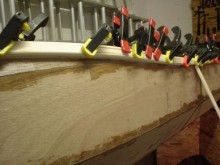 My hand-built boat continues to take shape...
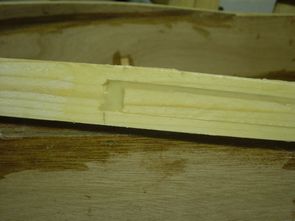 03 July 2007: I filled the voids in the gunwale lath assembly...
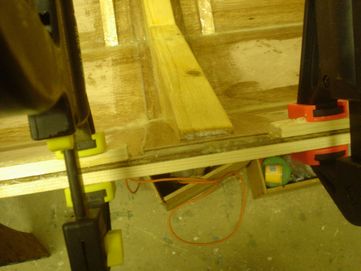 ...Then I turned the boat again and fitted the inwales on the other side. I had to install these in two pieces, because of the reinforcement pieces for the butt joints amidships, and there's an interesting gap that I'll have to fill - I'll probably shape a bit of timber by hand for this
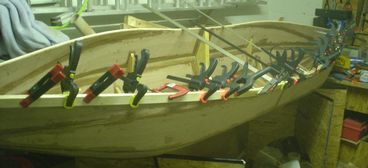 Anyway, the inwales went on very easily, but I needed even more clamps than before - 24 in total this time!
Blue Stuff
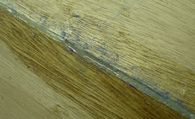 The blue stuff - some kind of paint or sealer - has rubbed off the OSB sawhorse/supports I made, onto the hull
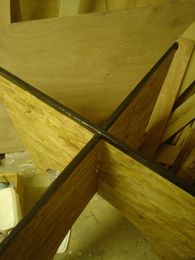 So I lined the tops with duct tape - something I probably should have done right at the start.
The blue stuff will come off when I sand the outside of the hull, so it's not a problem, but the duct tape is a good idea, because it prevents the boat from slipping and cushions it a little.
04 July 2007: I applied the last of the inwales today - these were really easy - partly because I know what I'm doing now (a lot of it is knowing where to put the first clamp), but also, because I bought some more clamps - they came back into stock in Poundland - they're like the yellow and black ones in the pictures - so I treated myself to another ten of them and this made tonight's clamping job a great deal easier.
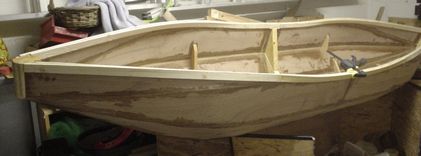 05 July 2007: The glue has set nicely on the gunwales and I'm starting to feel better about the general shape of the boat again.
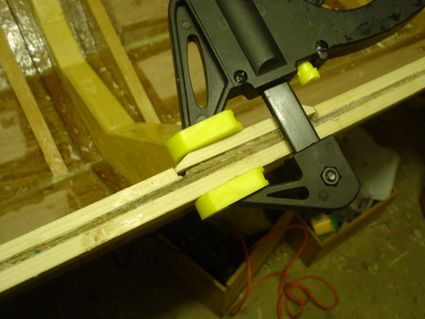 I didn't do much tonight - just a couple of small bits of gluing
At the moment, lots of things are looking a bit rough and scrappy, but they'll tidy up quite well.
The end of this project is coming into view now; jobs left to do are:
- Apply outer gunwale mouldings
- Fill, sand and shape gunwales
- Glass inside seams of top panels
- Rub down outside of hull
- Glass three bottom seams, fill and fair
- Construct decks and bulkheads
- Construct and fit duck boards
- Paint and varnish
- Construct paddle
That could be just over a week's work, but will probably be more likely spread over two weeks
Paint coverage calculation
Sometimes we make things too complicated. I was trying to work out how much paint I'd need to buy - I started calculating the surface area of the boat, treating the midsection as a half-cylinder, and the ends as half-cones - things rapidly got out of hand and I don't know if my answer would ever have been even within the right order of magnitude.
Then it occurred to me... The boat is made of the equivalent of one full sheet of ply - so even though it's not that shape any more, the surface area is still going to be 32 square feet - of thereabouts. D'oh!
Polyurethane glue
Weird stuff this polyurethane glue - it looks like honey when it comes out of the bottle, but turns into a beige foam when exposed to water (you actually have to damp down the wood before making the joint - the water is what cures the glue), then it sets hard and is comparable to epoxy in strength.
It's not suitable for other parts of the construction - it has little gap-filling ability, but for flush joining of large flat timber areas, it's really good.
Like epoxy, it's almost completely odourless to work with, but also like epoxy, it sticks very readily to skin - gloves are a must!
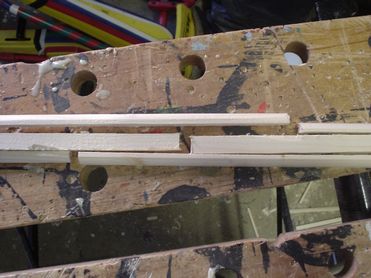 06 July 2007: I thought I might be able to coerce the outer gunwale laminations to bend into place without cutting them, but it's just not going to happen, so I sliced these into three strips along half of their length, then cut the butt joints (where they meet in the middle) in a staggered fashion, like so:
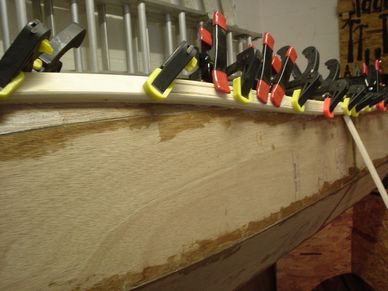 Again, these went on quite easily - this time I was able to brush the glue onto the existing gunwale, damp the pieces to be applied and clamp them on without too much fuss. I used all my clamps again, despite having bought a new batch. Actually, I could do with a couple more... I could always do with a couple more...
The above photo again illustrates why the slits are required - the laminations have to bend horizontally around the hull, and also vertically along the sweeping curve of the sheerline.
After a couple of hours, the glue had set up, so I turned the boat and glued on the final two outer laminations. That's the gunwale all glued up now.
Because the laminates that make up the gunwale all had to be sliced lengthways into three, and were not long enough to run the length of the boat (requiring a joint somewhere), it's probably quite important to stagger the joints so that they are distributed throughout the final structure.
 I did this by having simple butt ends on the inwale, then two different patterns of interlock on the outwale pieces, like this
Survey of the launch site
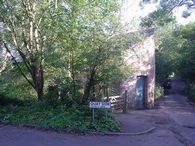 When the time comes to get this boat wet, I'll be taking it down to Botley Quay
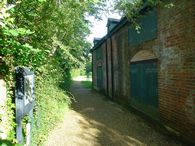 I strolled down there today (Jul 6) just to check it out again
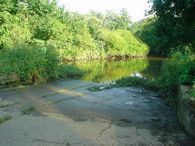 I wanted to check the water level. The tide was 3.58m and falling when I got there and this is probably the lowest water at which I could practically embark
Any lower and there's mud to cross - (the lower end of the old slipway is missing)
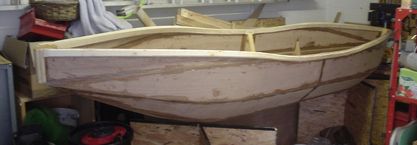 07 July 2007: It's nice to see all the gunwale assembled now - it's looking quite good, I think
I mixed up some epoxy and flour and went around filling some of the voids, cracks and imperfections in the gunwale, then I added in some microballoons and filled the gap along the top edge of the ply. The microballoons are a reddish-brown colour, so it should look like an inlay when it's sanded and varnished. It's a bit of a mess right now though, but sanding will sort that out
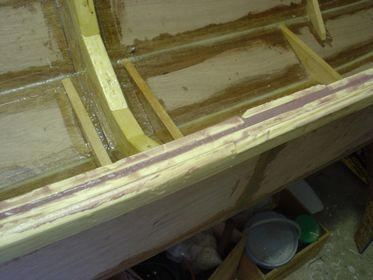 (I managed to do both sides - one in the morning, the other late the same evening)
08 July 2007: Not much to report today - it was a bit of a busy day in other respects, so I didn't get much time to work on the boat - still, I managed to do a bit of filling and shaping of the ends, and I built a little wheeled trolley for transporting the boat to the river.
09 July 2007: Slight design change decision (no actual productive work today though); I had originally intended to fit a deck at each end of the boat and drop a bulkhead against it to create a sealed tank for built-in buoyancy, but if I do that, I'm going to have trouble adequately treating the wood inside it and I won't be able to use that area for anything else if the built in buoyancy isn't necessary or needs moving to somewhere else in the boat.
So, I'm still going to have the deck, but it will be open underneath - buoyancy bags can be fitted there and removed later if necessary.
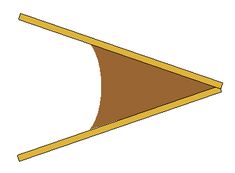 I want the edge of the deck to curve into the sides, like this
-but the edge of the ply deck will need supporting, so I'm going to try steam-bending some wood for it, well, not quite steam-bending - see above right for details.
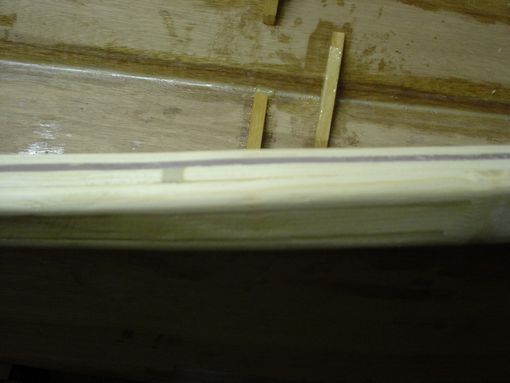 10 July 2007: Quite a productive day. I took half a day off work and cleaned up one of the gunwales - I used a coarse rasp to take off the worst of the excess glue and protruding bits of timber, then followed along with some medium abrasive paper - the result was everything I'd hoped for - there's still some finish sanding to do before it will be ready for varnish, but the microballoon-loaded infill looks like an inlay, and the ordinary glue/filler is a good match for the timber.
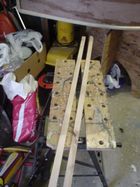
I also started work on the paddle - I cut a nice length of spruce for the shaft (below right) - I managed to select a bit that was reasonably clear of knots. I planed it to about 35mm square, then rounded off all the edges with a quadrant bit in my router - the result is not completely round in section - still a bit squarish, but nice and smooth and will be quite comfortable to hold. I cut a notch in either end - one end to take the paddle blade and the other to take a tenon around which the handle will be built.
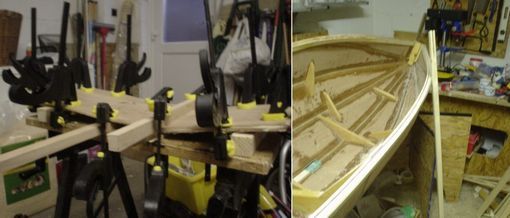 Then I cut a couple of rectangles of ply (same material as the boat) and lamimated them together with polyurethane glue. I deliberately clamped them up bent (left, if you can make it out), so that the blade will (hopefully) be curved when it all sets up.
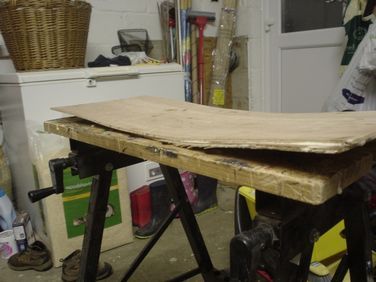 After a few hours, I removed the clamp from the ply - it has indeed set with a nice curve in it - now all I need to do is work out how big and what shape to cut the blade.
Oven-bending wood
I need a couple of bent pieces of timber to support the edge of the decks. I don't have all the necessary equipment to perform proper steam-bending, but maybe there's a workaround...
My reasoning is that if I soak the timber in water for a while, then wrap it and heat it up in an oven, this will be more or less equivalent to steaming it.
 The maximum diagonal dimension of the oven in my kitchen is 50cm - that's long enough for the section I want - normally, I think there would be spare timber allowed to grip at the ends of the bend and to prevent splitting, but we must cut our suit according to our cloth, so 50cm it is...
I started with two sections of (reclaimed) beech, about 2 by 3cm cross section. They had reasonably straight and clear grain.
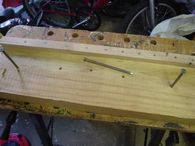 Then I built a crude jig on a piece of thick scrap timber - the ends of the wood will be restrained by six-inch nails, while the middle is pulled into shape with clamps, then more six-inch nails will be dropped into the oversized holes to keep it in shape while it cools
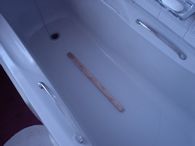 So the wood was soaked in the bath for an hour
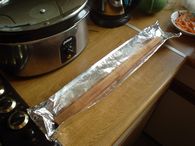 Then it was wrapped in a double layer of foil
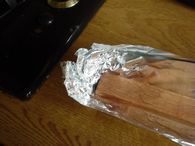 The ends were carefully folded around to retain the water
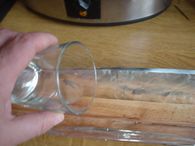 More water was added
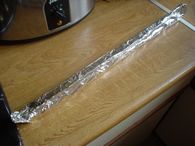 Then it was closed and folded over a couple of times
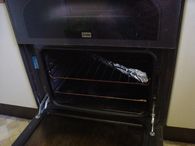 And it went into the oven at 170 celsius for an 40 minutes. (Actually, I took it out halfway and added more water, as it had almost boiled dry)
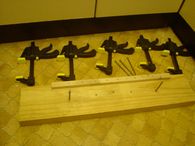 Near the end of 'cooking', I set the jig next to the oven and opened all the clamps up wide
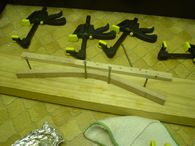 Then quickly removed the wood from the oven and from its wrapper and clamped it in place, dropped in the restraint nails and removed the clamps.
It was a partial success (or partial failure, if you prefer your glass half empty)
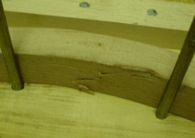 Although the wood did indeed bend quite easily, it also tore and split a little in the middle.
But I'm convinced this is a workable method - next time I'm going to:
- Use a different timber - maybe ash or cherry
- Soak overnight
- Bake for an hour
I might need to find a different clamping method too, as these cheap clamps just bind when put to this much force.
More progress to come soon...
