Drink Can Tinwork - Metal Sign
By Mike on Wednesday, July 2, 2014, 23:30 - Permalink
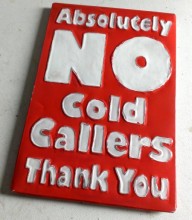 Another project with embossing sheet metal cut from discarded drink cans - this time, to make an embossed metal sign.
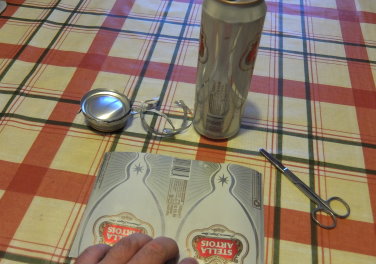 I wanted to make a sign for my front door - I found these one-pint cans of lager - really tall, and yielding nice, big pieces of sheet metal when cut open.
(The cans were supplied full of some sort of liquid, but I managed to find a way to deal with that).
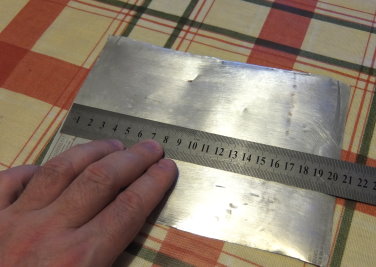 I sanded off the paint on the outside surface - partly to make it easier to see the design while I was working on it, but also to provide a key for painting later.
Unlike previous tinwork projects, I'd be working on this one so that the raised design comes out on the sanded-painted side - only because it's easier to see when this has been sanded back to bare metal; the inside of these cans typically has an epoxy plastic coating which might be difficult to paint, but hard to be sure I'd removed.
(There's a discussion of the question of whether to sand at all in the video FAQ on the previous page).
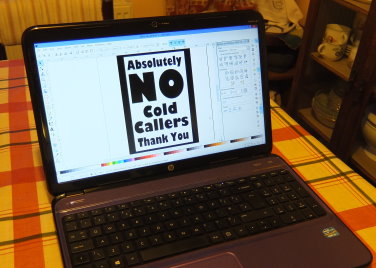 I laid out the design for my sign using Inkscape on my laptop - I really like using this program, because it can deal with real measurements (so you can be sure of the size something will print out at), but also, it allows you to easily stretch text objects to make it all fit the space required.
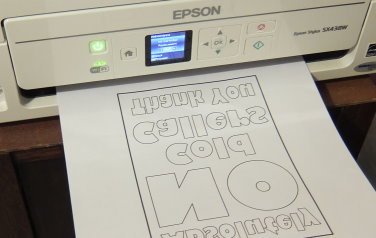 I flipped the design (because I'd be working from the back of the metal) and formatted it to print as an outline and ran it out on plain paper.
I taped my metal sheet down to a cork backed board and fixed the printed design over the top - then I carefully traced the design with a strong ballpoint pen - pushing firmly through the paper to emboss the metal.
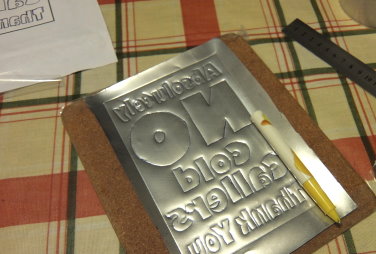 The first pass of embossing shows the design well, but the lines are only weakly pressed into the metal - I have a technique to make them really stand out...
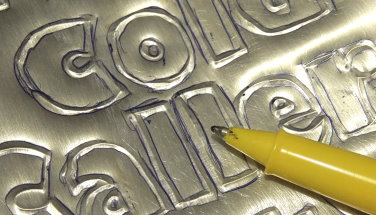 I flipped the metal back over and traced around the inside and outside of all the embossed lines with the ballpoint pen - pushing the metal down next to the lines.
I then flipped the metal again and retraced the original design - this always makes the lines stand out in much sharper relief - this technique is discussed in detail on previous pages.
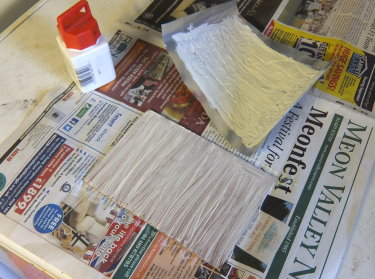 The metal is too flimsy to use as a sign on its own - and is always left a bit wavy or curved by the embossing process - to flatten it, I glued it to a piece of thin plywood.
I used contact cement for this, because it has an instant grab when used properly - painted onto both surfaces as shown, it's milky white when wet, but dries to a tacky transparent rubber film...
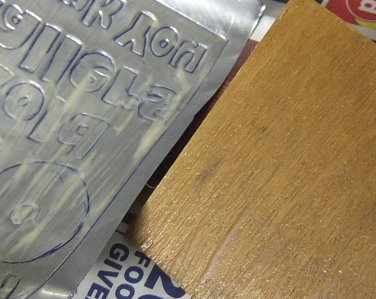 Once the cement is touch-dry and transparent, the two surfaces are brought together and they bond instantly and firmly - you only get one shot at this, so careful alignment is really important.
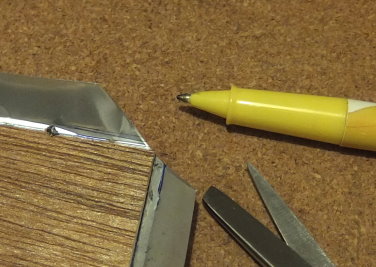 I creased the metal along the edges of the plywood to enable the spare material to fold around - and I trimmed off the corners so there would be no untidy folds there.
I used a small piece of dowel to rub the metal along the edges, so as to form a tight fold around the edge of the plywood, and back onto the rear surface.
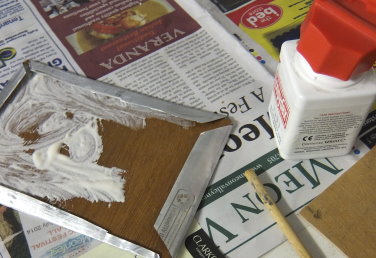 I cut another piece of thin plywood to glue on the back of the sign - to give it extra thickness and to hold down the folded-in edges of the metal.
In this case, because I was gluing wood to wood (i.e. two porous surfaces), the glue joint could be wet-assembled and clamped to dry.
Irrelevant, but really interesting...
Here's a really weird thing - I glued both faces of plywood and pressed them together, but realised I hadn't anything ready to clamp them tight.
When I returned with a heavy paint can, the springy edges of the folded metal had lifted the two pieces of ply completely apart - and the glue had formed the most amazing dendritic pattern where it must have gathered into strings and blobs when separated.
I think I might try to duplicate this effect in some future project, using paint or something.
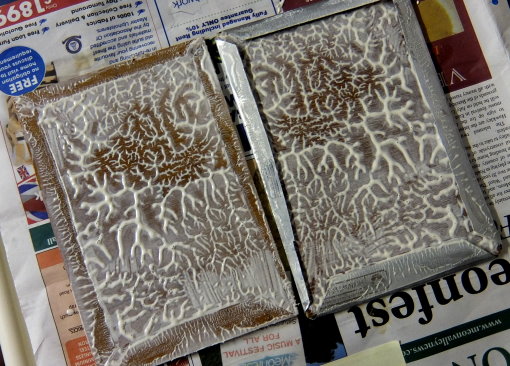
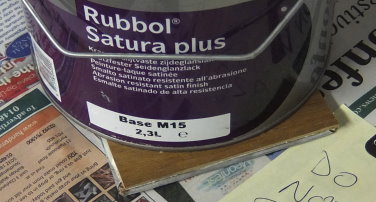 I realigned the plywood and weighed it down with a heavy can of paint - and left overnight to cure.
The next morning, it had all stuck together very nicely - and the embossed metal was nice and flat on the front of the sign.
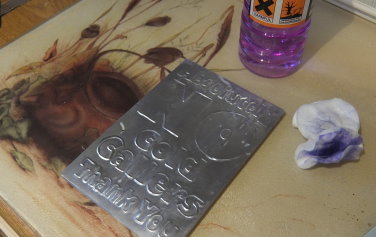 Before painting, I removed all traces of ballpoint ink and other contamination from the front of the sign using methylated spirit and cotton wool.
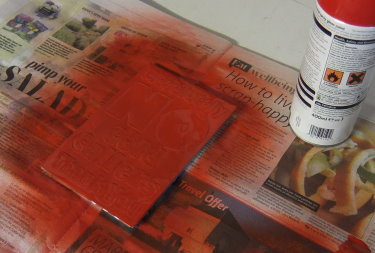 I gave it a few thin coats of bright red spray enamel - it went on very nice and reasonably flat.
The next day, it was dry, but still felt a little rubbery - the next task is to sand back the raised parts of the design to reveal the bright silver metal underneath - but this can't be done until the paint completely hardens.
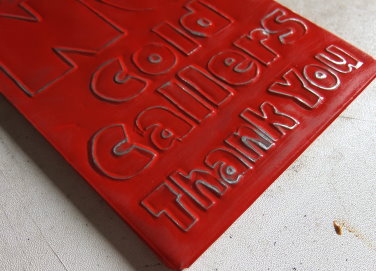 Sanding off the paint on the raised pattern did work, but the end result was not as readable and conspicuous as I had hoped.
I probably could have avoided this by embossing the letters as filled objects, but now it's all glued down, a different approach is required.
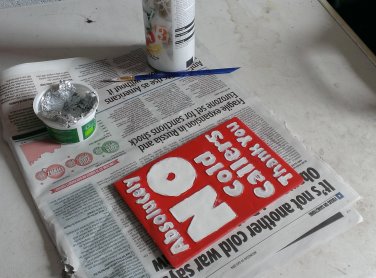 So I painted in the centres of the lettering with white enamel paint. Badly.
The raised metal lines made it quite easy to fill in with a generous amount of paint - allowing it to level itself, but in truth, I don't have the fine motor skills for delicate painting, so the job was a bit messy and blobby where I went over the lines (in addition to the letter edges being a little informal anyway).
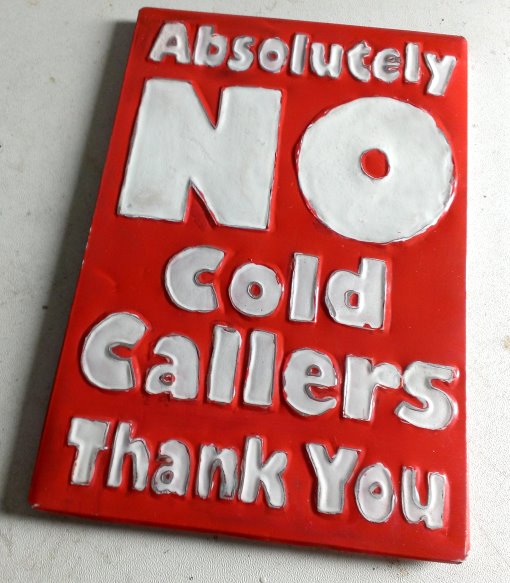
Once the white paint was dry though, I sanded it back inside the lines, which made it look a lot better.
It's still a bit rough and ready, but I wanted a certain amount of battered retro feel, so I'm not unhappy with the appearance now
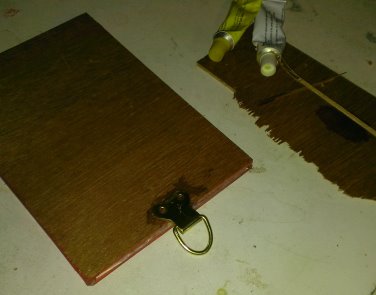 The final task was to glue a hanging loop onto the sign - I used quick setting epoxy for this.
The hanger bracket was formed of folded brass, which I split apart a little - so one side is glued onto the back of the sign; the other is glued into the gap between the metal covered front section and the ply backing.
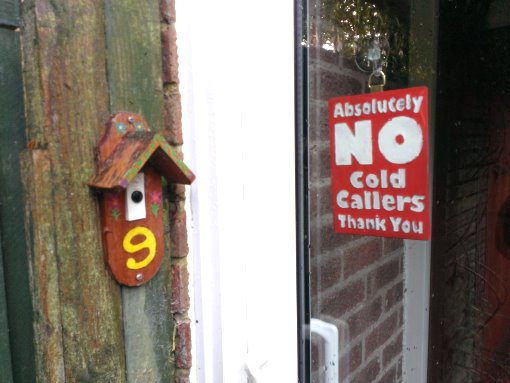
All that remains is to hang it in the front porch - on the inside of the sliding glass door, using a transparent sucker hook. I put it right near the doorbell, so nobody can claim they missed it:
