Vintage Book
By Mike on Saturday, February 15, 2014, 18:20 - Permalink
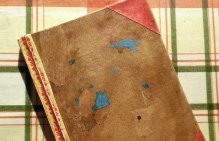 We saw an old-looking journal in a film and my daughter wished out loud that she had a book like that.
So I set about making one - starting with a brand new book and applying vintage effects to it.
Starting Point
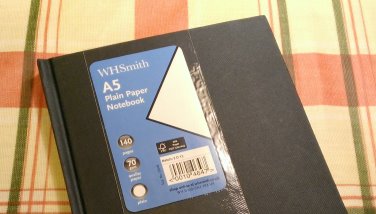 I started with a simple 100-page A5 hardback notebook - I had to look everywhere before I eventually found one with plain pages, rather than ruled (plain pages will be better for sketching in).
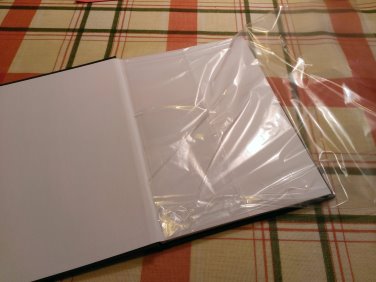 I knew I would be splashing glue and ink around - and although I wanted the outside of the book to look aged, worn and dirty, I wanted to keep the pages clean.
So I slipped a sandwich bag over the pages and secured it in place with the band of clear plastic that served as a label in the shop.
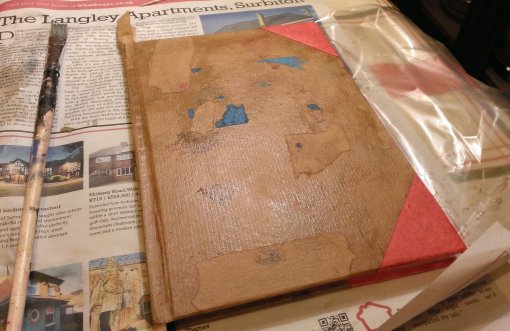
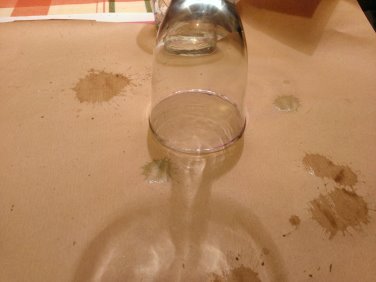 I cut a piece of brown wrapping paper to cover the book - this paper had a presentable, smooth side and a less-pretty rough side. I chose the rough side to face outwards - since neat and tidy is the opposite of the objective here.
I applied stains to the brown paper by dripping ink onto it from a height (to make splashes) and dipping the rim of a glass in red ink to make faux wineglass rings.
I left some of the ink drops to dry (making dark blots) - but for most of them, I left them a while, then blotted them dry - this produces a stain with a darker edge around it.
You might be wondering why I applied these effects to the paper before covering the book - there's a good reason for this; the PVA glue will tend to make the brown paper impervious to moisture - so even when it's only glued onto the cover of the book with no glazing, it won't stain as readily and realistically as it will when it's a fresh, plain sheet of brown paper.
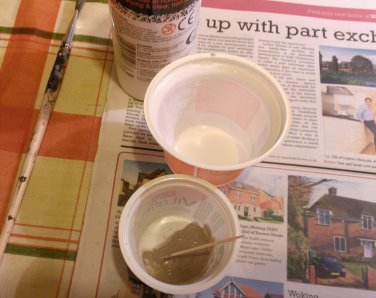 The glue I used for all of the applied effects was just ordinary white PVA.
I also mixed some of this with a few drops of brown ink - to be used as a vintage glaze.
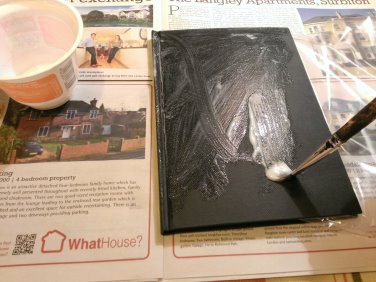 The easiest and neatest way to cover the book is to apply glue to the cover, then place it on the flat sheet of brown paper, then apply glue to the spine and eventually the other cover, turning the book over to affix the paper to both sides.
It's important not to pull the paper too tight - there is a crease by the spine - and the paper must settle down into this, and if the book is wrapped too tightly, it won't close flat when the glue dries.
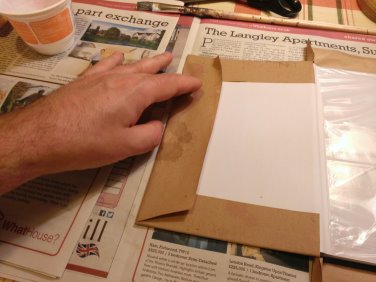 Once the paper was wrapped around the outer surface of the book, I snipped away the excess so that it could be folded over neatly inside the cover.
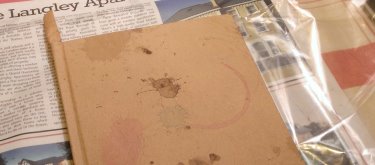 This left two fingers of paper sticking out at either end of the spine, but that's OK - these can be tucked in later.
This is where protecting the pages really paid off - the whole wrapped book could be left under a heavy flat weight for the glue to set, without any concern that it might never open again.
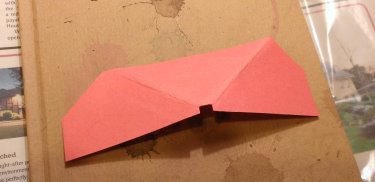 To protect the corners of the cover, I cut some strips of red card and folded them to make triangular corners.
Rather than try to work out the shape necessary to make best fit, I just folded one around a corner of the cover and shaped it by trial and error - then I unfolded it and made three more the same.
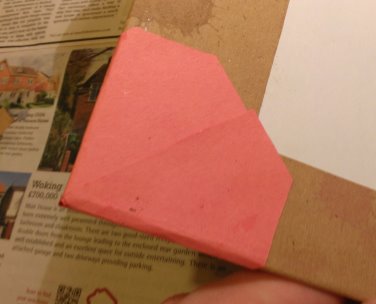 I glued these in place outside and in - and although they look reasonably neat, it doesn't really matter, because the inside of the covers will be made good with decorative end papers.
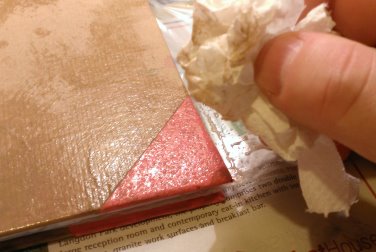 Then it was time to use the glue I mixed with ink to apply the vintage glaze effects.
Layer by layer, I brushed on the brown-stained glue. To hide the brush marks and add a more mottled appearance, I dabbed the wet glue with screwed-up kitchen towels.
It's worth taking your time with this - lots of thin, careful layers will usually result in a more believable vintage effect than a few, sloppy daubed layers.
It's also important to think about where the dirt and grime would be - less in the centre of the cover - more at the edges, and especially the spine and any other parts that would be handled.
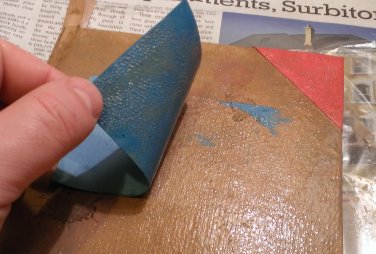 I wanted to make it look as though the book had been repurposed at some point in its (fake) history, so I cut a rectangle of blue card and glued it to the cover. I also wet the top of the label with glue so that the card would soak and start to come apart.
I left the glue to half-dry, then peeled off the blue card - as I hoped, some parts of it tore away and were left fixed to the cover. although I wanted more, so I just repeated the process to get a few more corner remnants left on there.
At the end of the first evening's work, it was starting to look good. As a finishing touch for the day, I stuck on a few torn scraps of brown paper - to make it look as though damage had been repaired with patches.
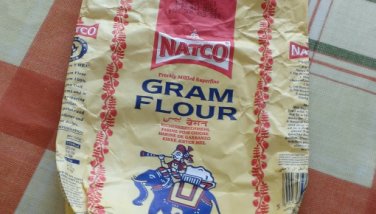 Next, I wanted some decorative bits - I found exactly what I wanted on an empty flour packet - a garland-type border.
The elephant and rider motif might have been useful for this kind of work, but was not quite in keeping with the current project.
 In a travel magazine, I found a lovely half-page of stylised floral design on a plain, dark-blue background - I kept this for use later as endpapers.
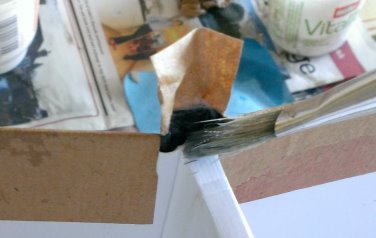 The next day, I glued the last bits of paper cover into place - I opened the book very wide (which made a hole open up at the spine), then applied glue and pushed the paper tab down into it.
This is preferable to applying glue to the paper - as this would soften it and it would probably tear apart when I tried to push it into the spine.
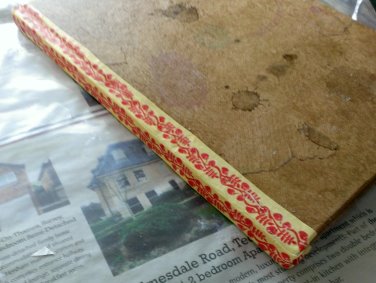 There were four strips of decorative garland on the flour packet, so I cut out three of them and glued them in place along the spine - tucking them in around the ends and ensuring that they were pressed down into the crease where the cover hinge folds open.
I then applied a few more thin layers of brown glaze and allowed it to dry.
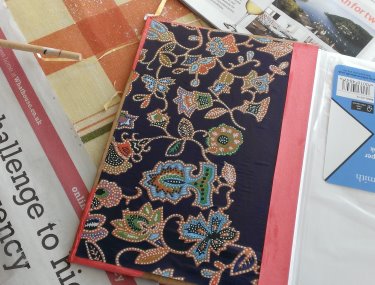 I cut a piece of the magazine page and stuck it inside the cover - this not only provides a nice decorative effect, but it also conceals all of the seams and untidy corners where the paper was wrapped around the cover.
The pattern wasn't quite big enough (part of the text from the advert was visible) so I had to add a narrow band of red card along the inner edge.
Once the glue fixing this all in place had dried, I gave the inner cover a neat coat of vintage glaze - not too much; I didn't want it to look brand new, but on an authentic old book, the inside parts would look cleaner and newer anyway.
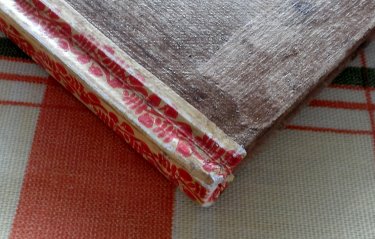 When everything was dry, there were just a few more finishing touches left to do.
Using medium sandpaper, I applied wear to the corners and edges - places that would naturally experience scuffing if the book had genuinely been around a bit.
Finally, so that the pages wouldn't stand out as new, I removed the plastic wrapping and coloured in the visible page edges with a pale brown pencil. I could have brushed dilute ink or cold tea on them, but I didn't want it to soak into the paper.
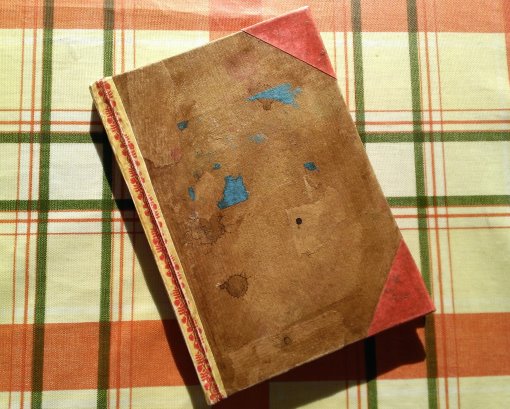
Reasonably good, I hope. I think it looks plausibly old.
But Why?
I think it's nice to have old things. Obviously, I'll never be able to actually believe that this one is old, but there's still something comfortably nice about the illusion.
Other Effects And Materials
This isn't the only way to apply age effects - single sheets of paper can be soaked in cold tea or gently baked in an oven - and bits and pieces of potential vintage material are all around us - newsprint, magazine pictures, bits of packaging, wallpaper and gift wrap, for example, can all be put to use in a project like this.
I used PVA glue mixed with sepia ink for my vintage glaze, but diluted brown poster paint would probably be just as good - or anything else that can be applied sparingly. Some people use instant coffee granules, but I'm reluctant to use those as the aroma would probably persist.
